Kitchen Experiment — Hoshigaki: The Japanese Art of Preserving Persimmons
There’s something so satisfying about eating a jammy and sweet hachiya persimmon at the peak of ripeness in the middle of autumn. But sometimes we just want to enjoy and savor those moments a little longer. Instead of waiting a whole year later, food preservation methods through tradition, art, and science is a way we can transform and enjoy these foods into their off-season. Through my travels to Japan over the past few years, I’d often see hoshigaki — Japanese dried and preserved persimmons — make an appearance at the local food market at different points of the year. It’s popular to find a variety of dried persimmons from countries like Korea, China, and Vietnam, but there is something so beautiful about the Japanese tradition and how they’ve made an art out of practice of preserving these golden persimmon beauties. The persimmon is Japan’s national fruit after all. The kitchen experiment below details my journey and attempt at recreating the delicious hoshigaki I enjoyed while in Japan, the lessons I learned, and what I’d like to remember and improve for next year’s go around.

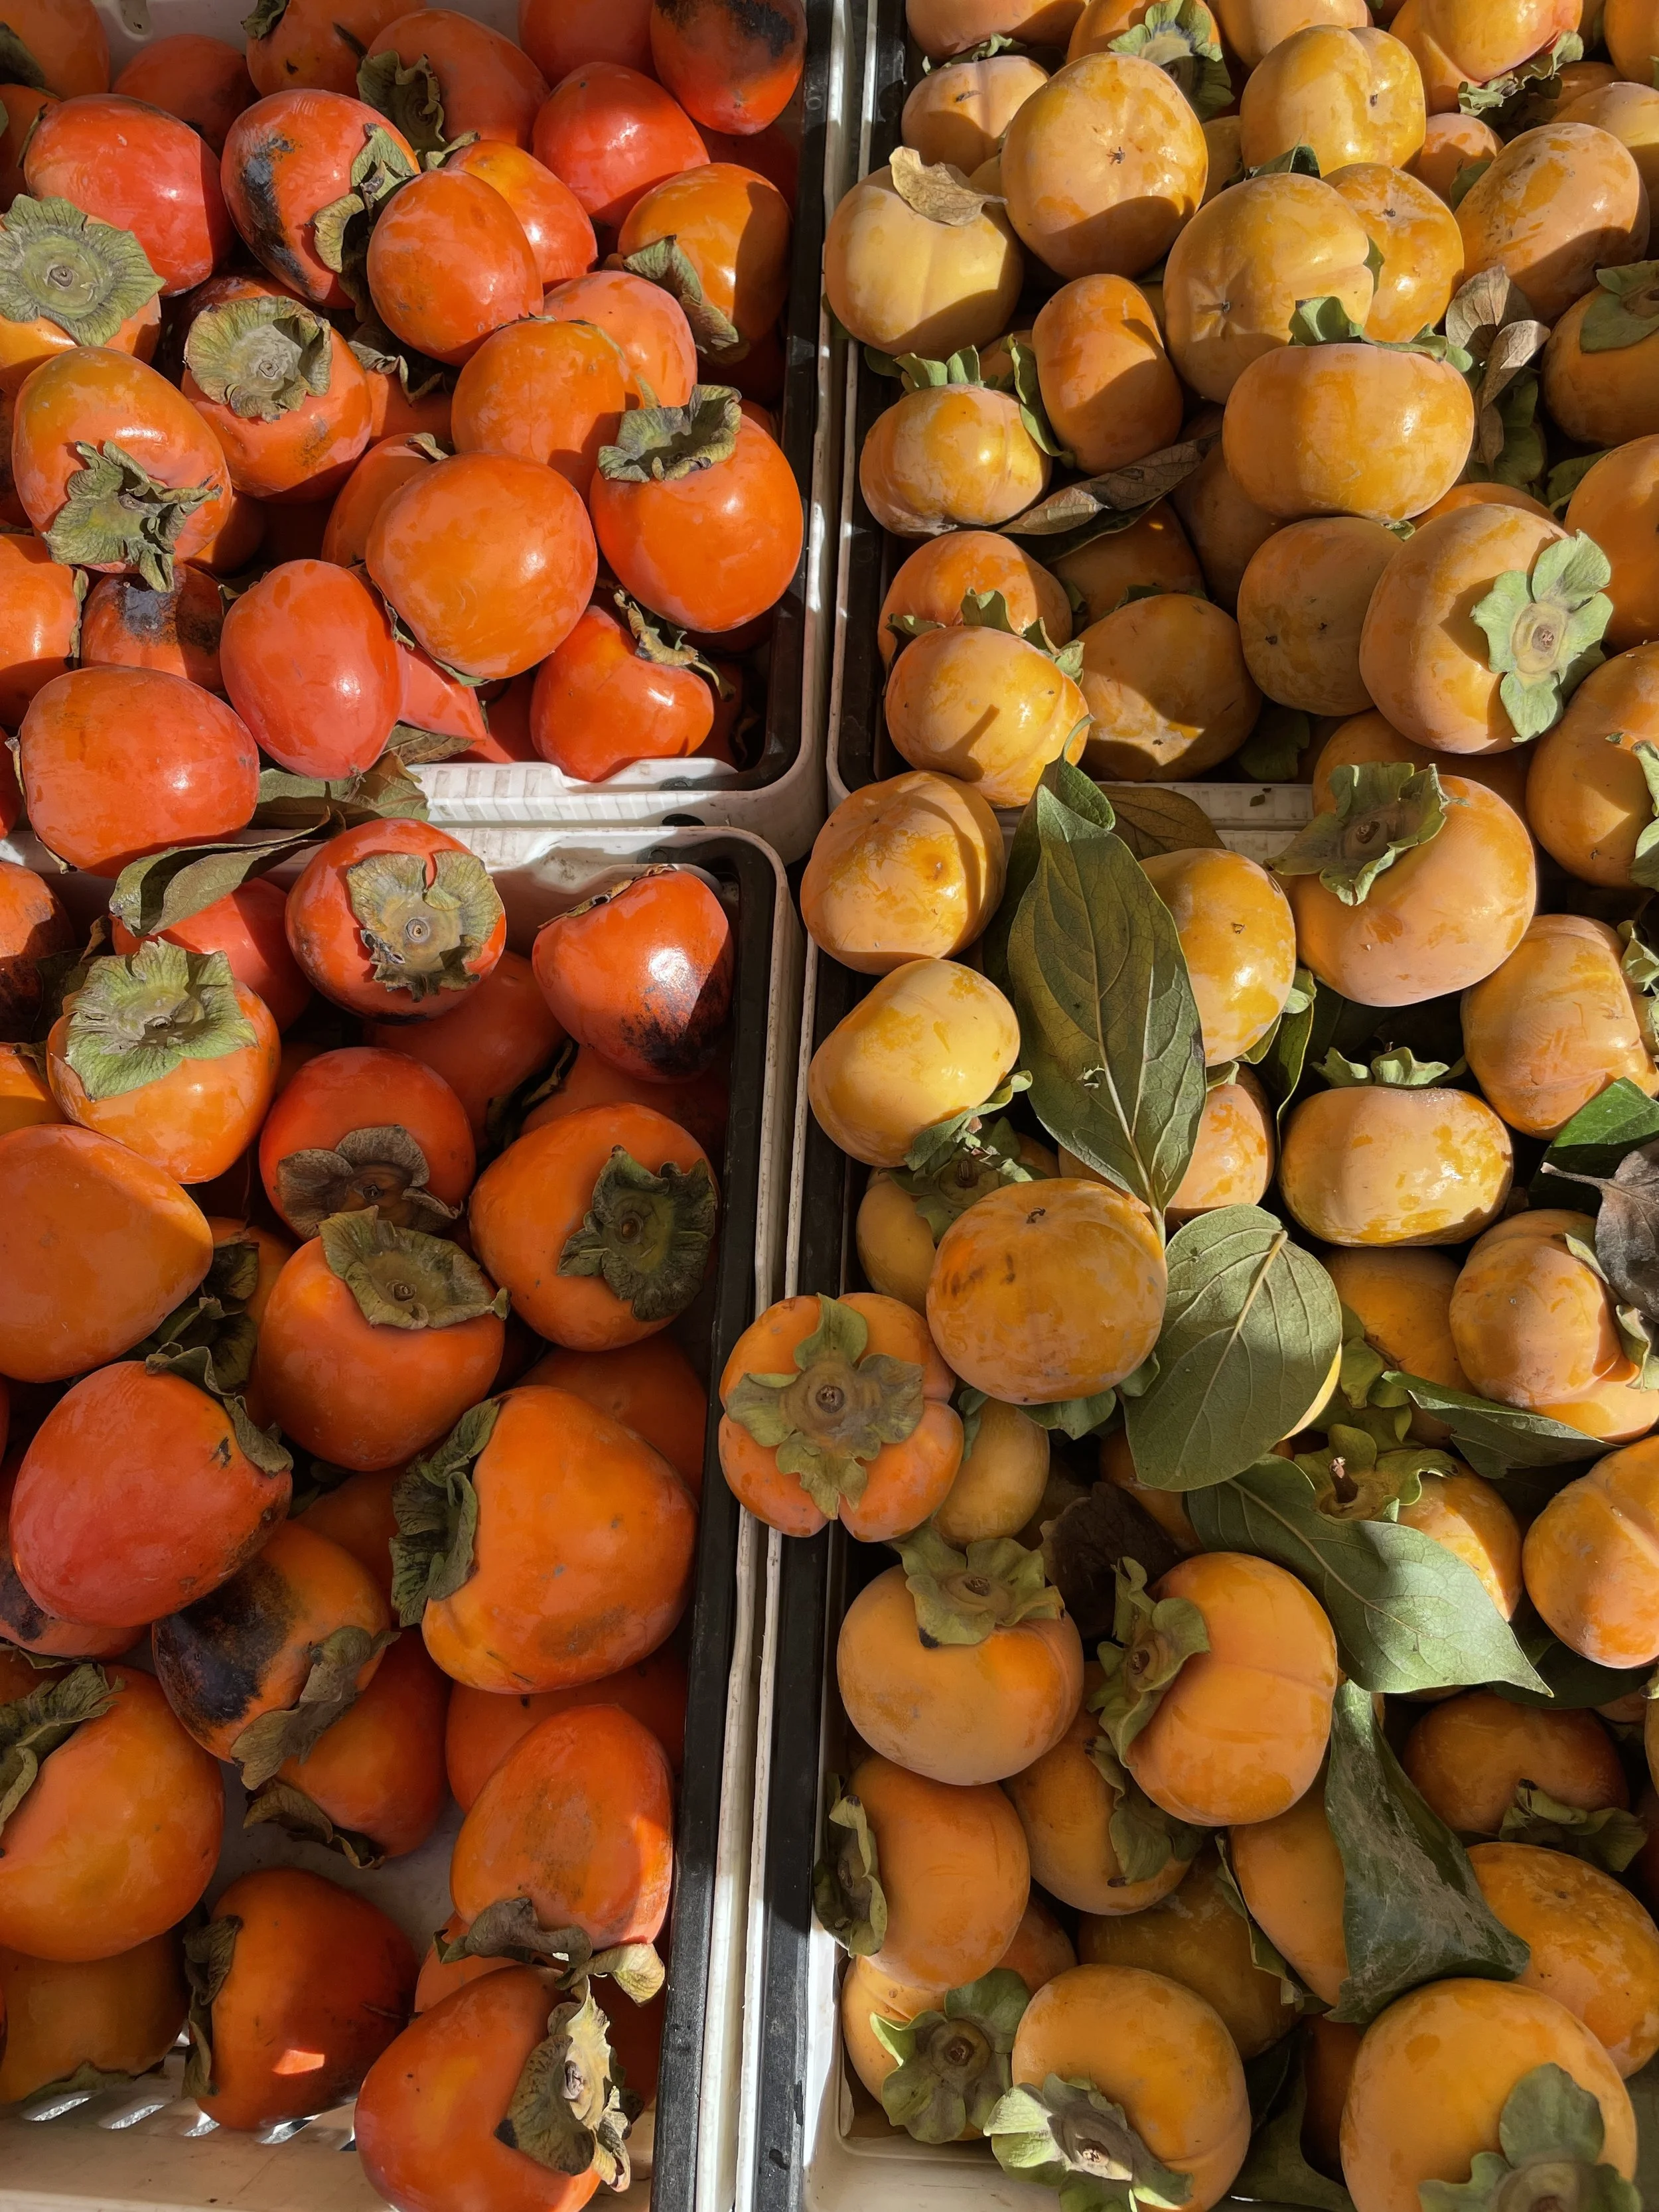
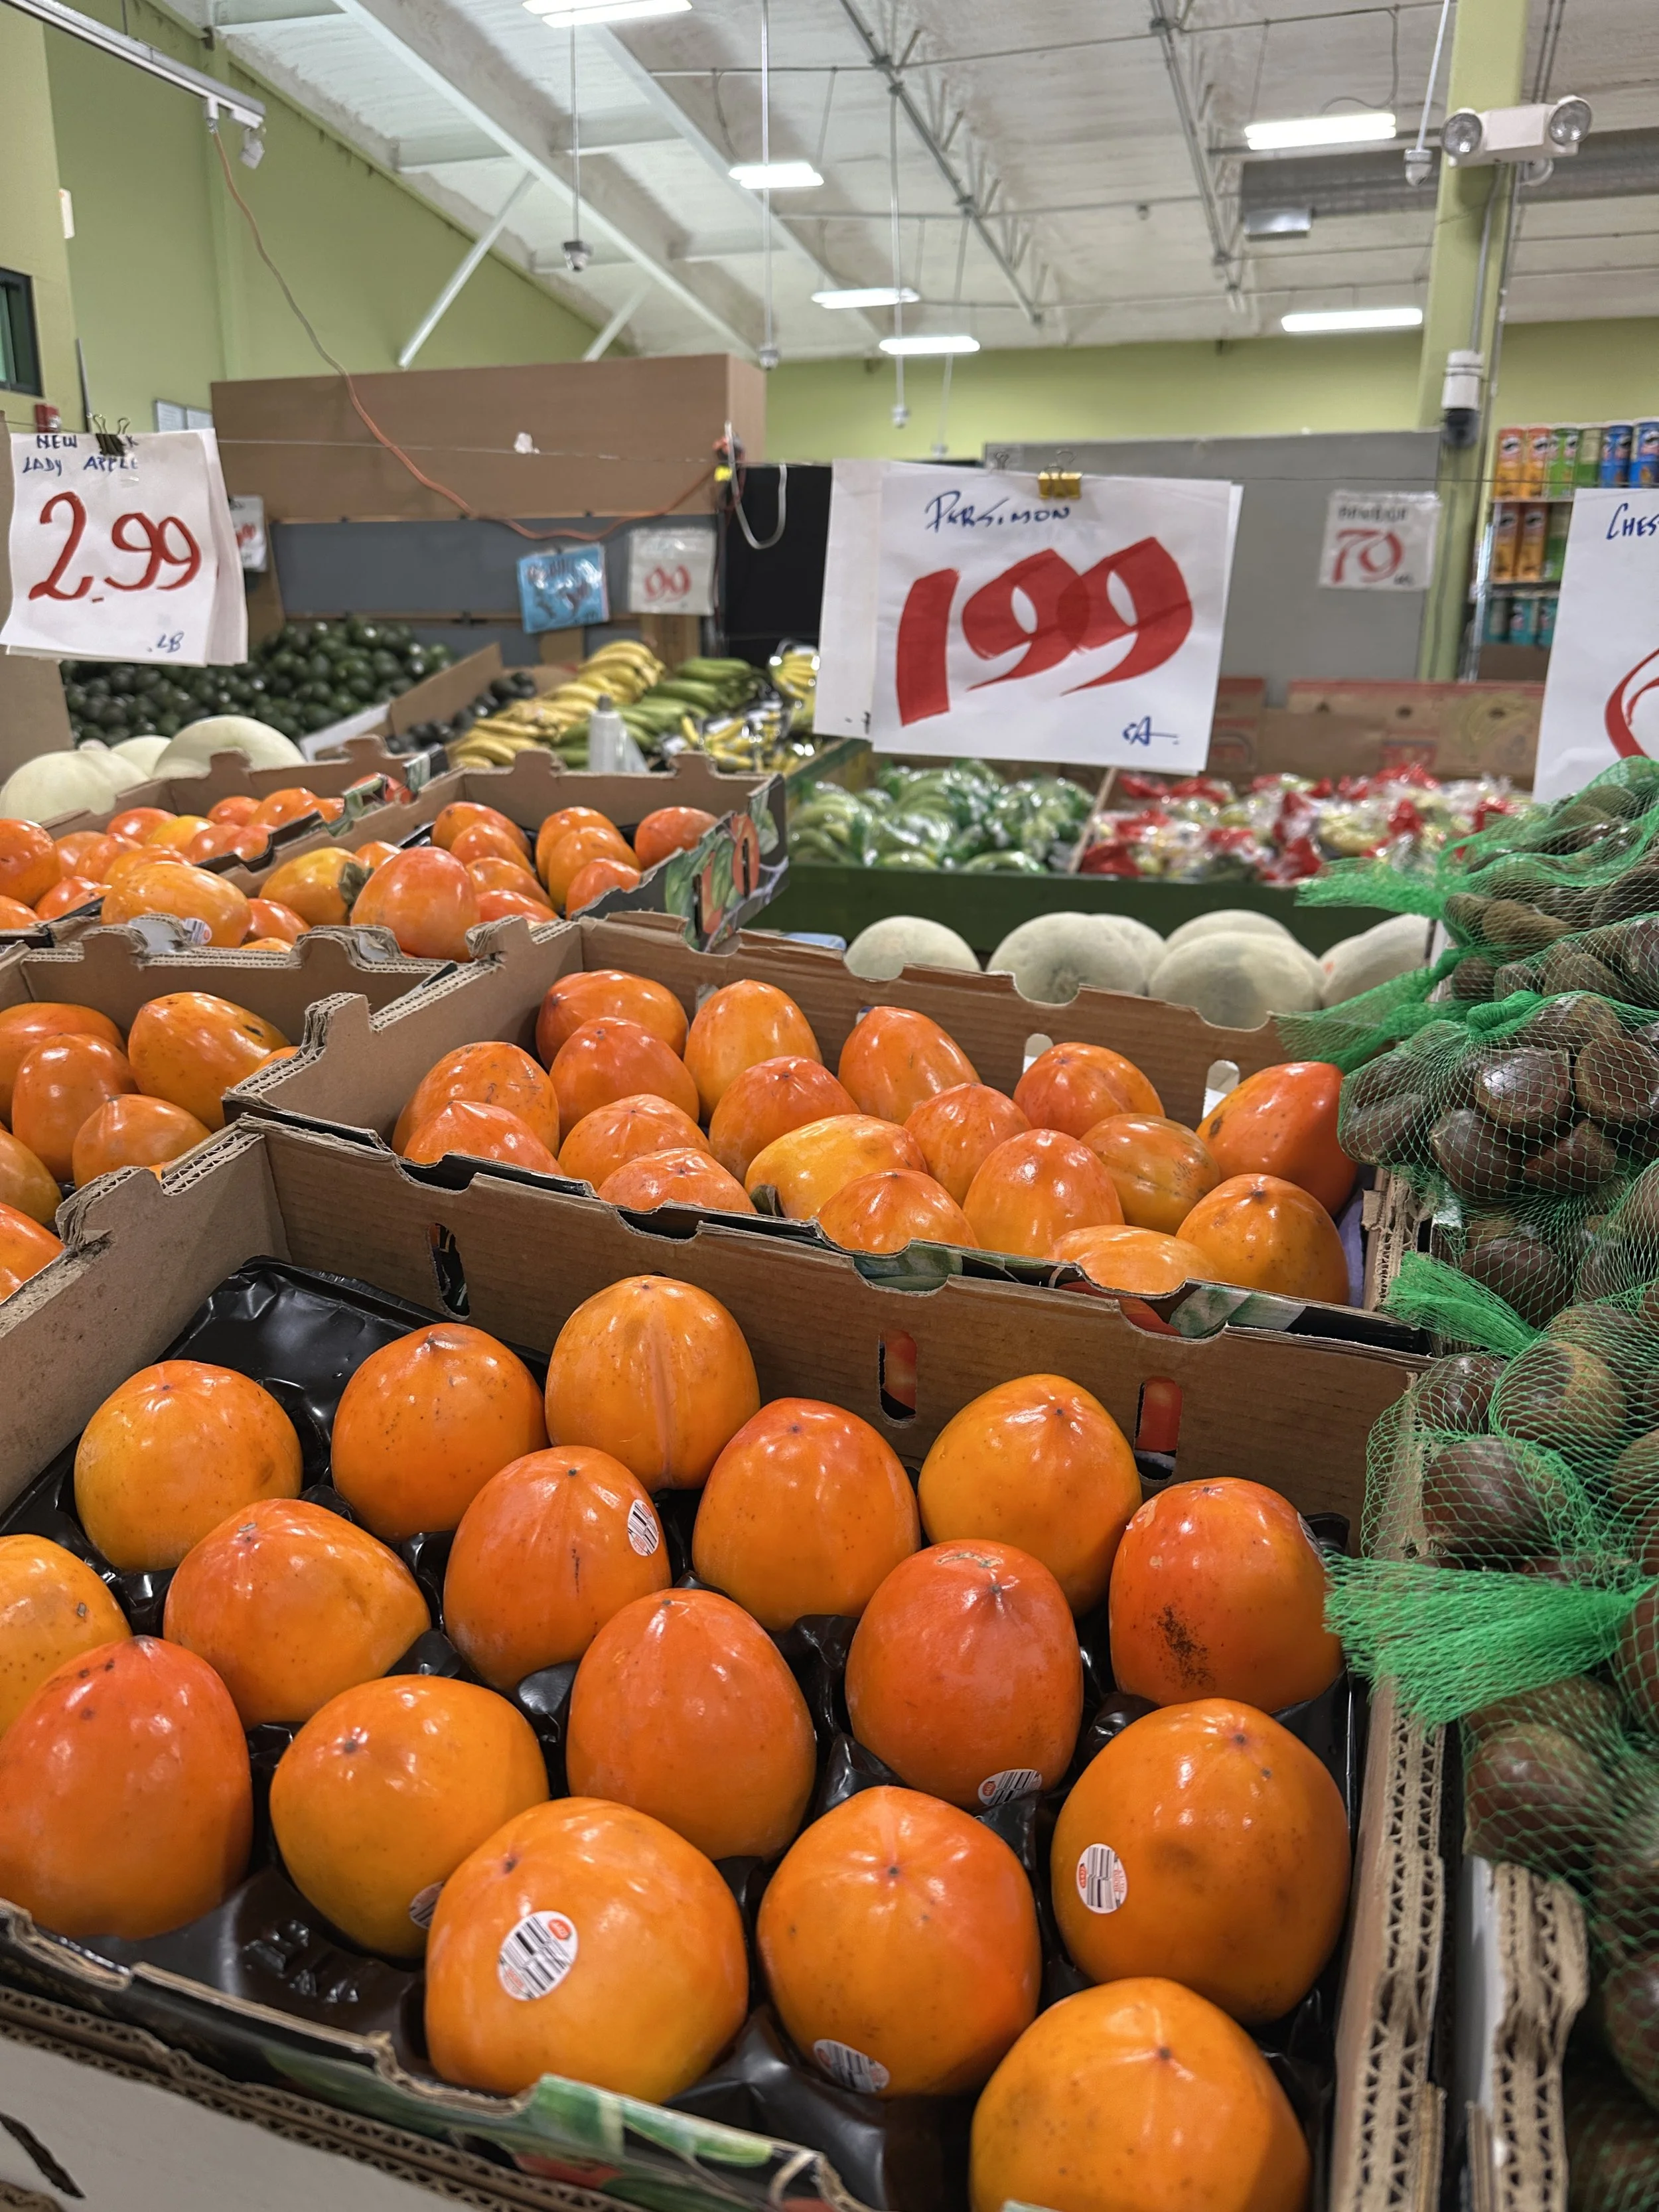
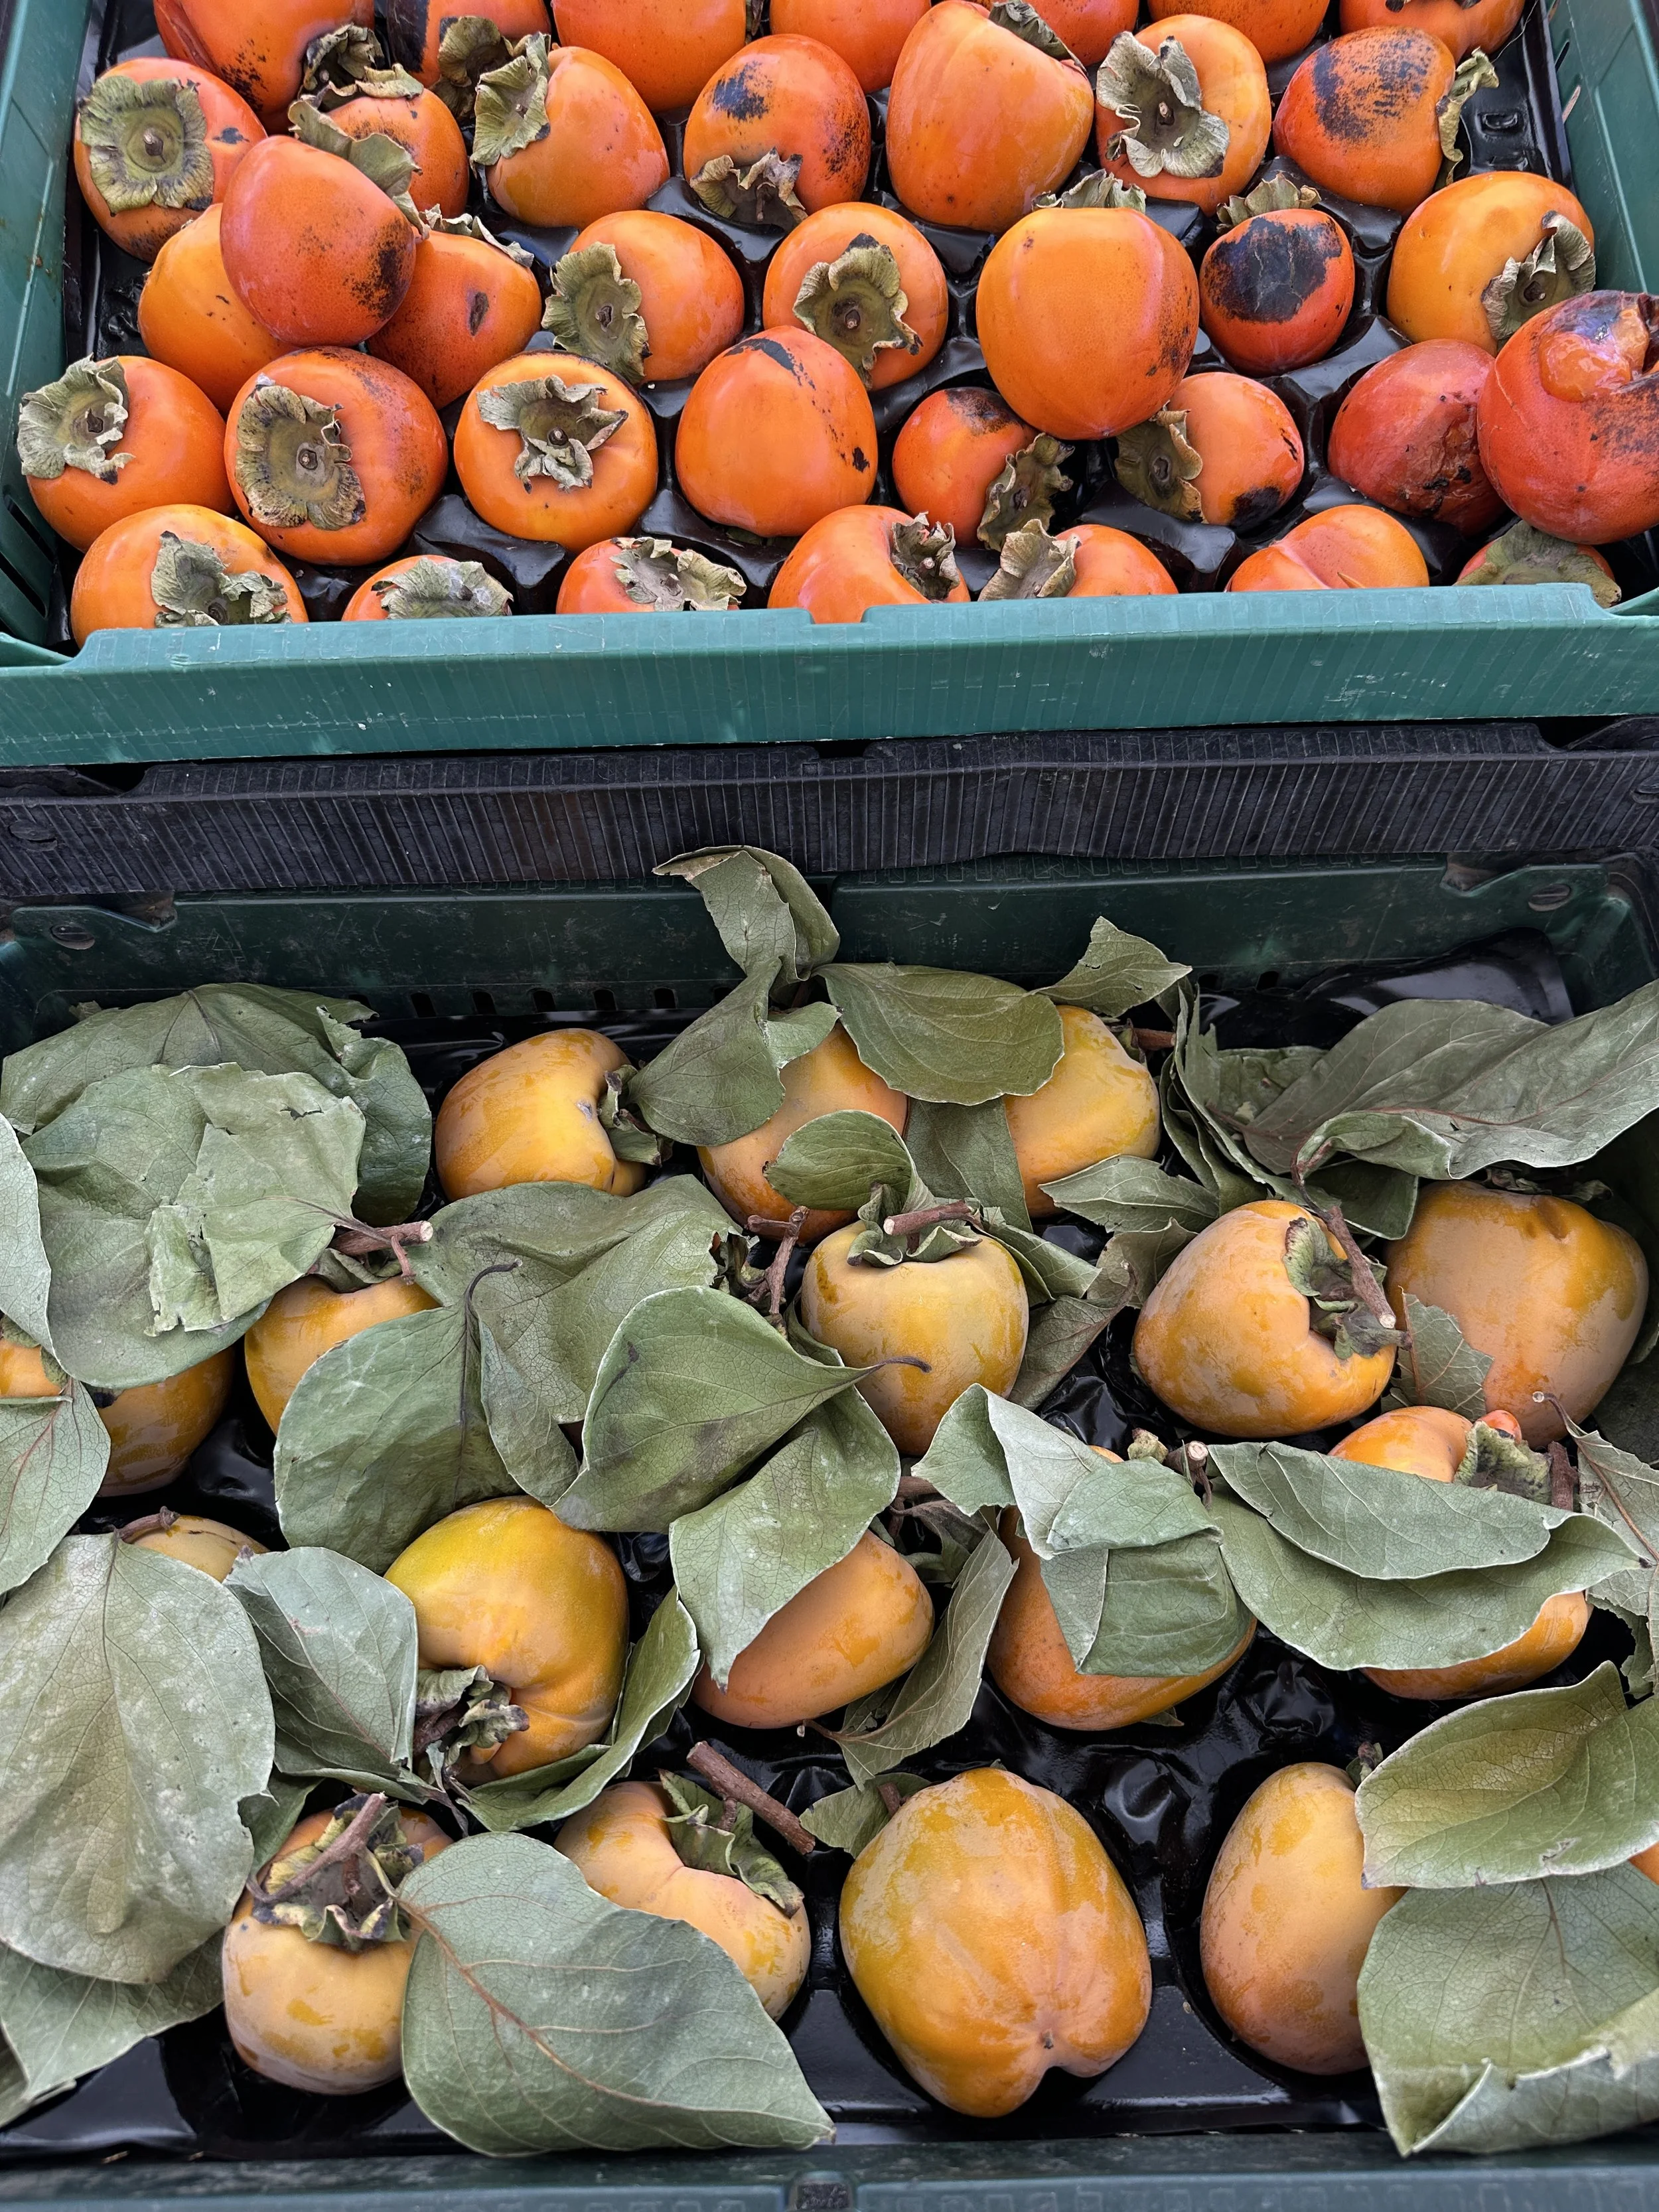
Photos above: persimmons from Nishiki Market in Kyoto, Japan. Yum!
Selecting the Fruit!
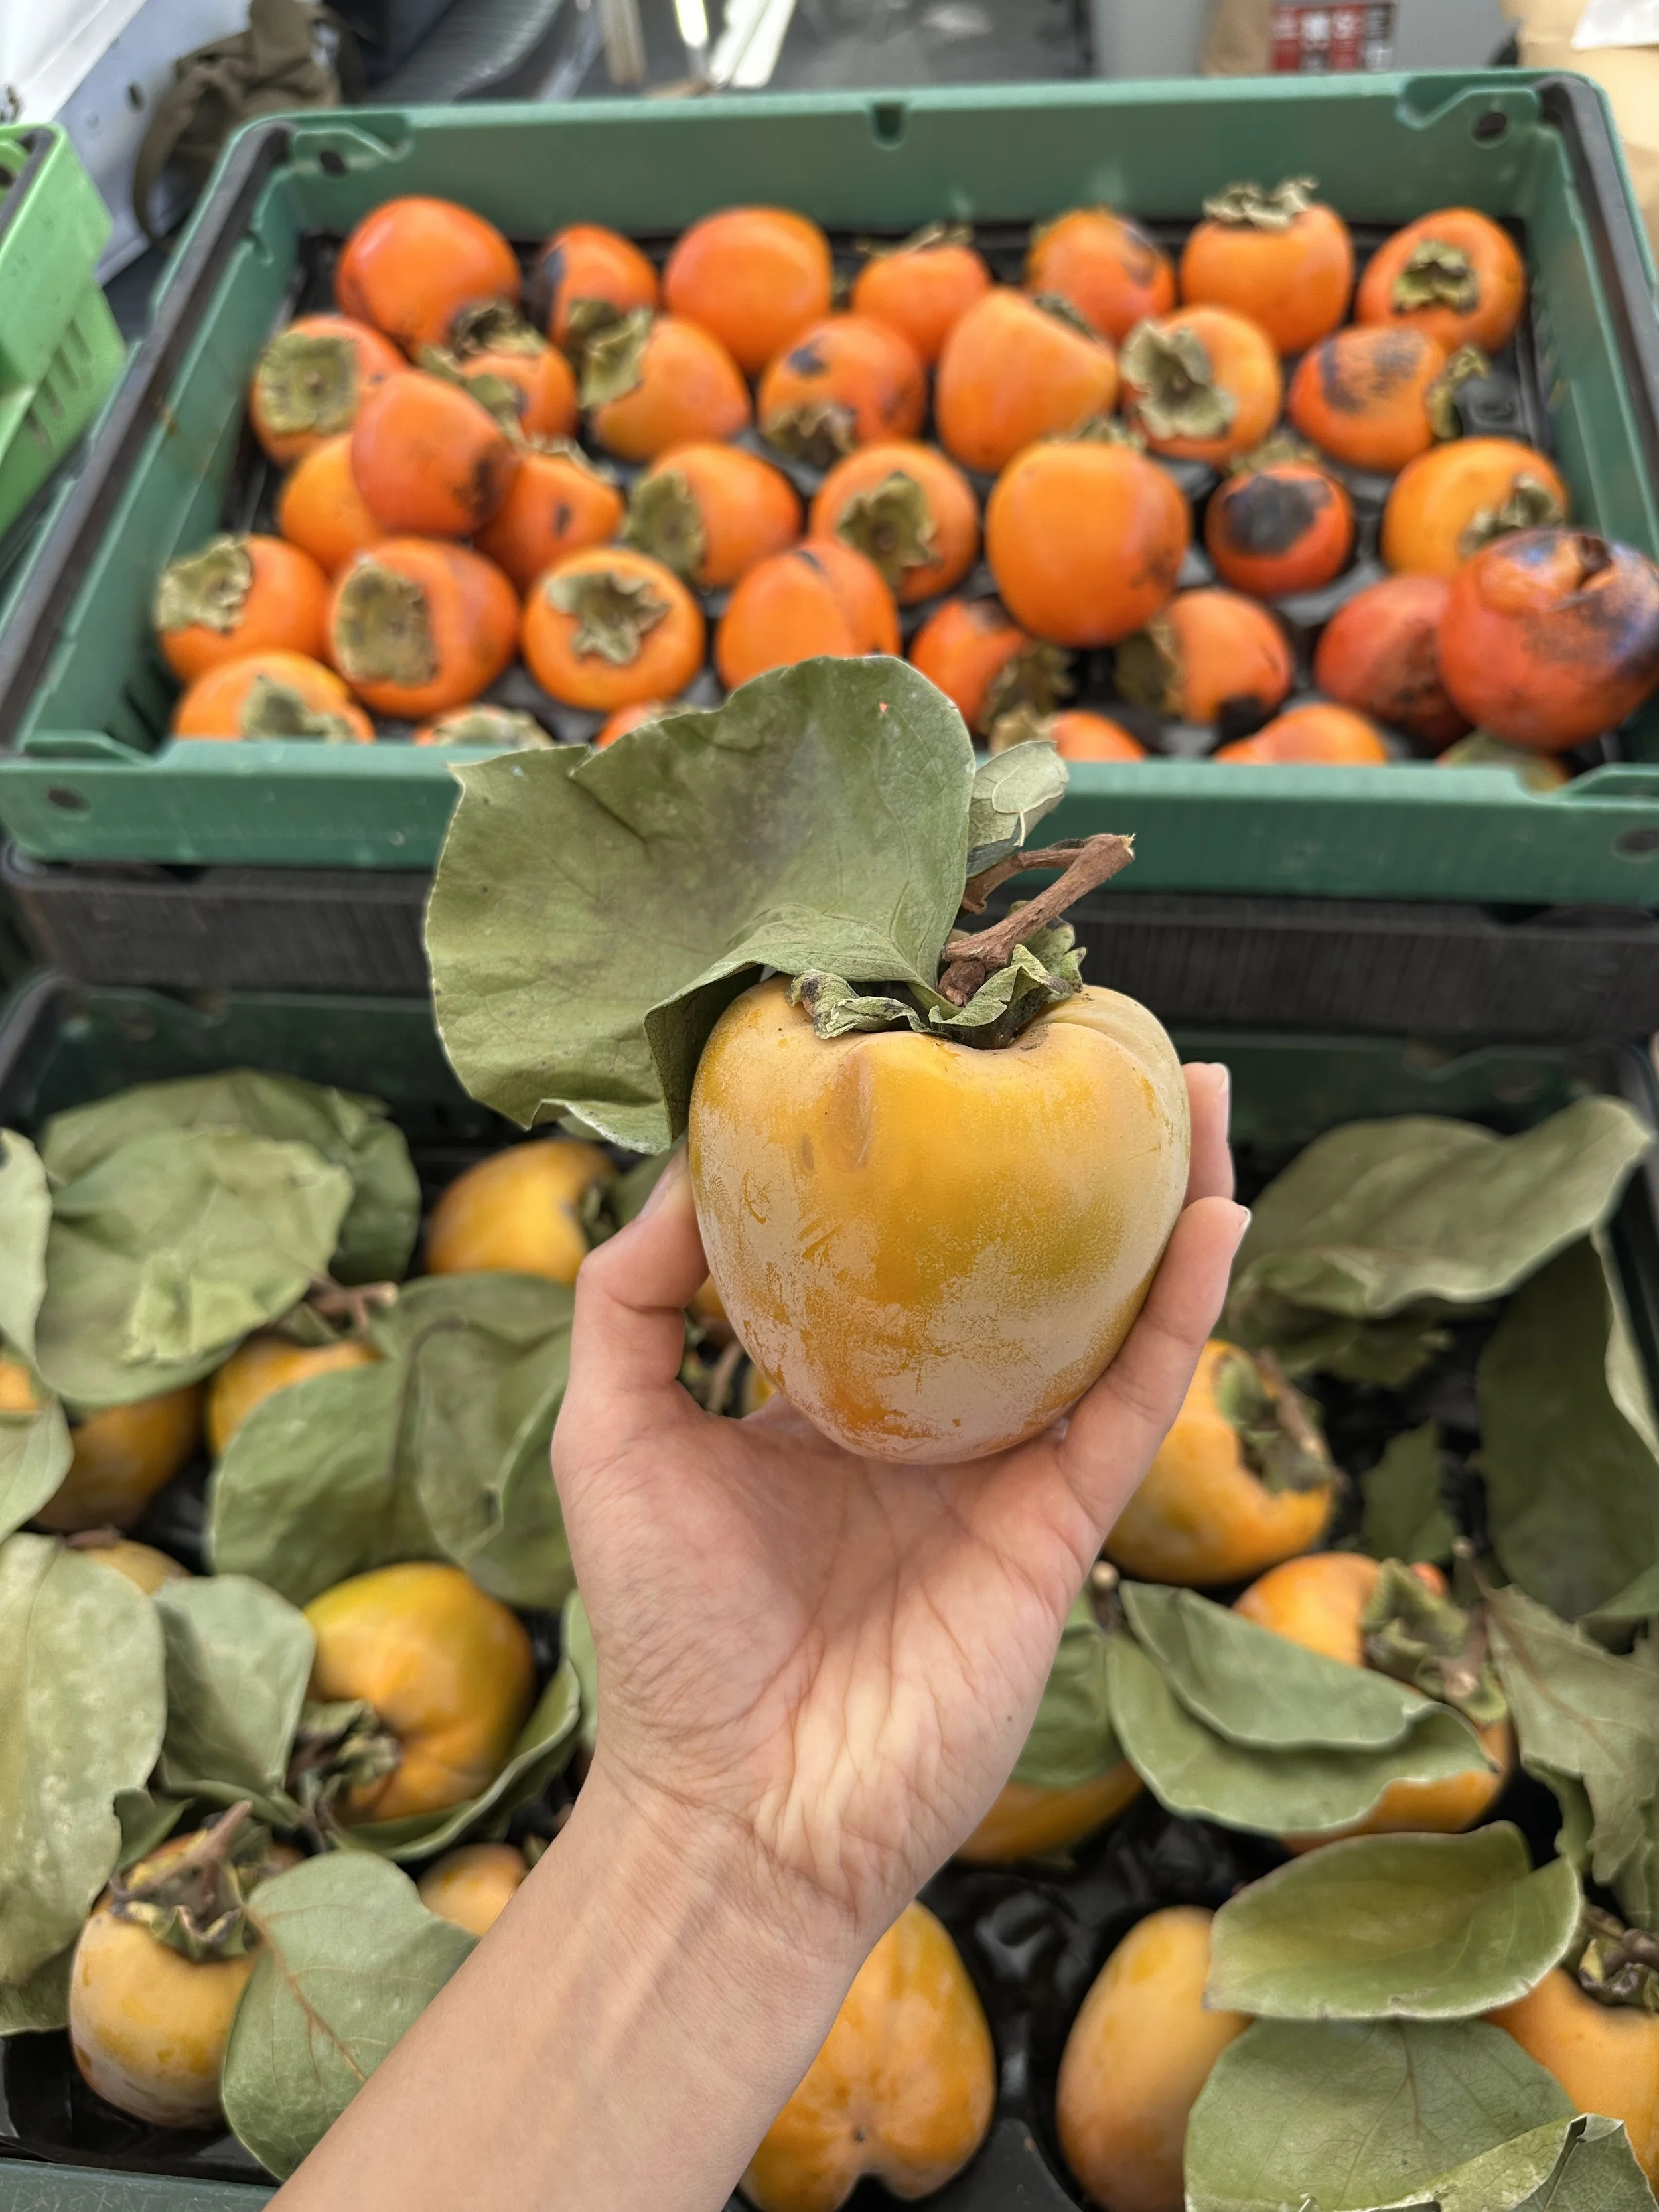
The best time of year to find persimmons in season is October to December, with November being the sweet spot and the perfect time to start hoshigaki at home. Traditionally, the longer hachiya persimmon variety is used over the flatter and rounder fuyus for making hoshigaki. The hachiyas need to be just barely ripe and a deep orange color, but still firm to the touch. If the persimmons are too ripe, they won’t achieve the ideal jammy but firm texture. That and you’ll risk them falling off the string!
Another important thing to consider is finding persimmons that have a ‘T shaped’ branch still attached so that you can easily tie a string and hang them. There’s an abundance of persimmons during the fall, but I actually found it difficult to find ones with branches on the east coast. It was easier for me to find the branched persimmons at markets (left photo above) when I lived in California. So this is a great opportunity to see what’s available at your local farmer’s market or make a friend who has their own persimmon tree!

Week 1
Now that we’ve secured the persimmons, it’s time to start! The first thing I did was rinse the exterior of the fruit and tied kitchen twine to whatever short branch I had on each persimmon. I tied a few tight knots to secure it the best I could, crossed my fingers, and hoped they wouldn’t fall off! If you have a good ‘T shaped’ branch, you’ll have no problem. If there is no branch at all, some people will use a screw to secure their string but I really didn’t want pieces of metal in my persimmons.
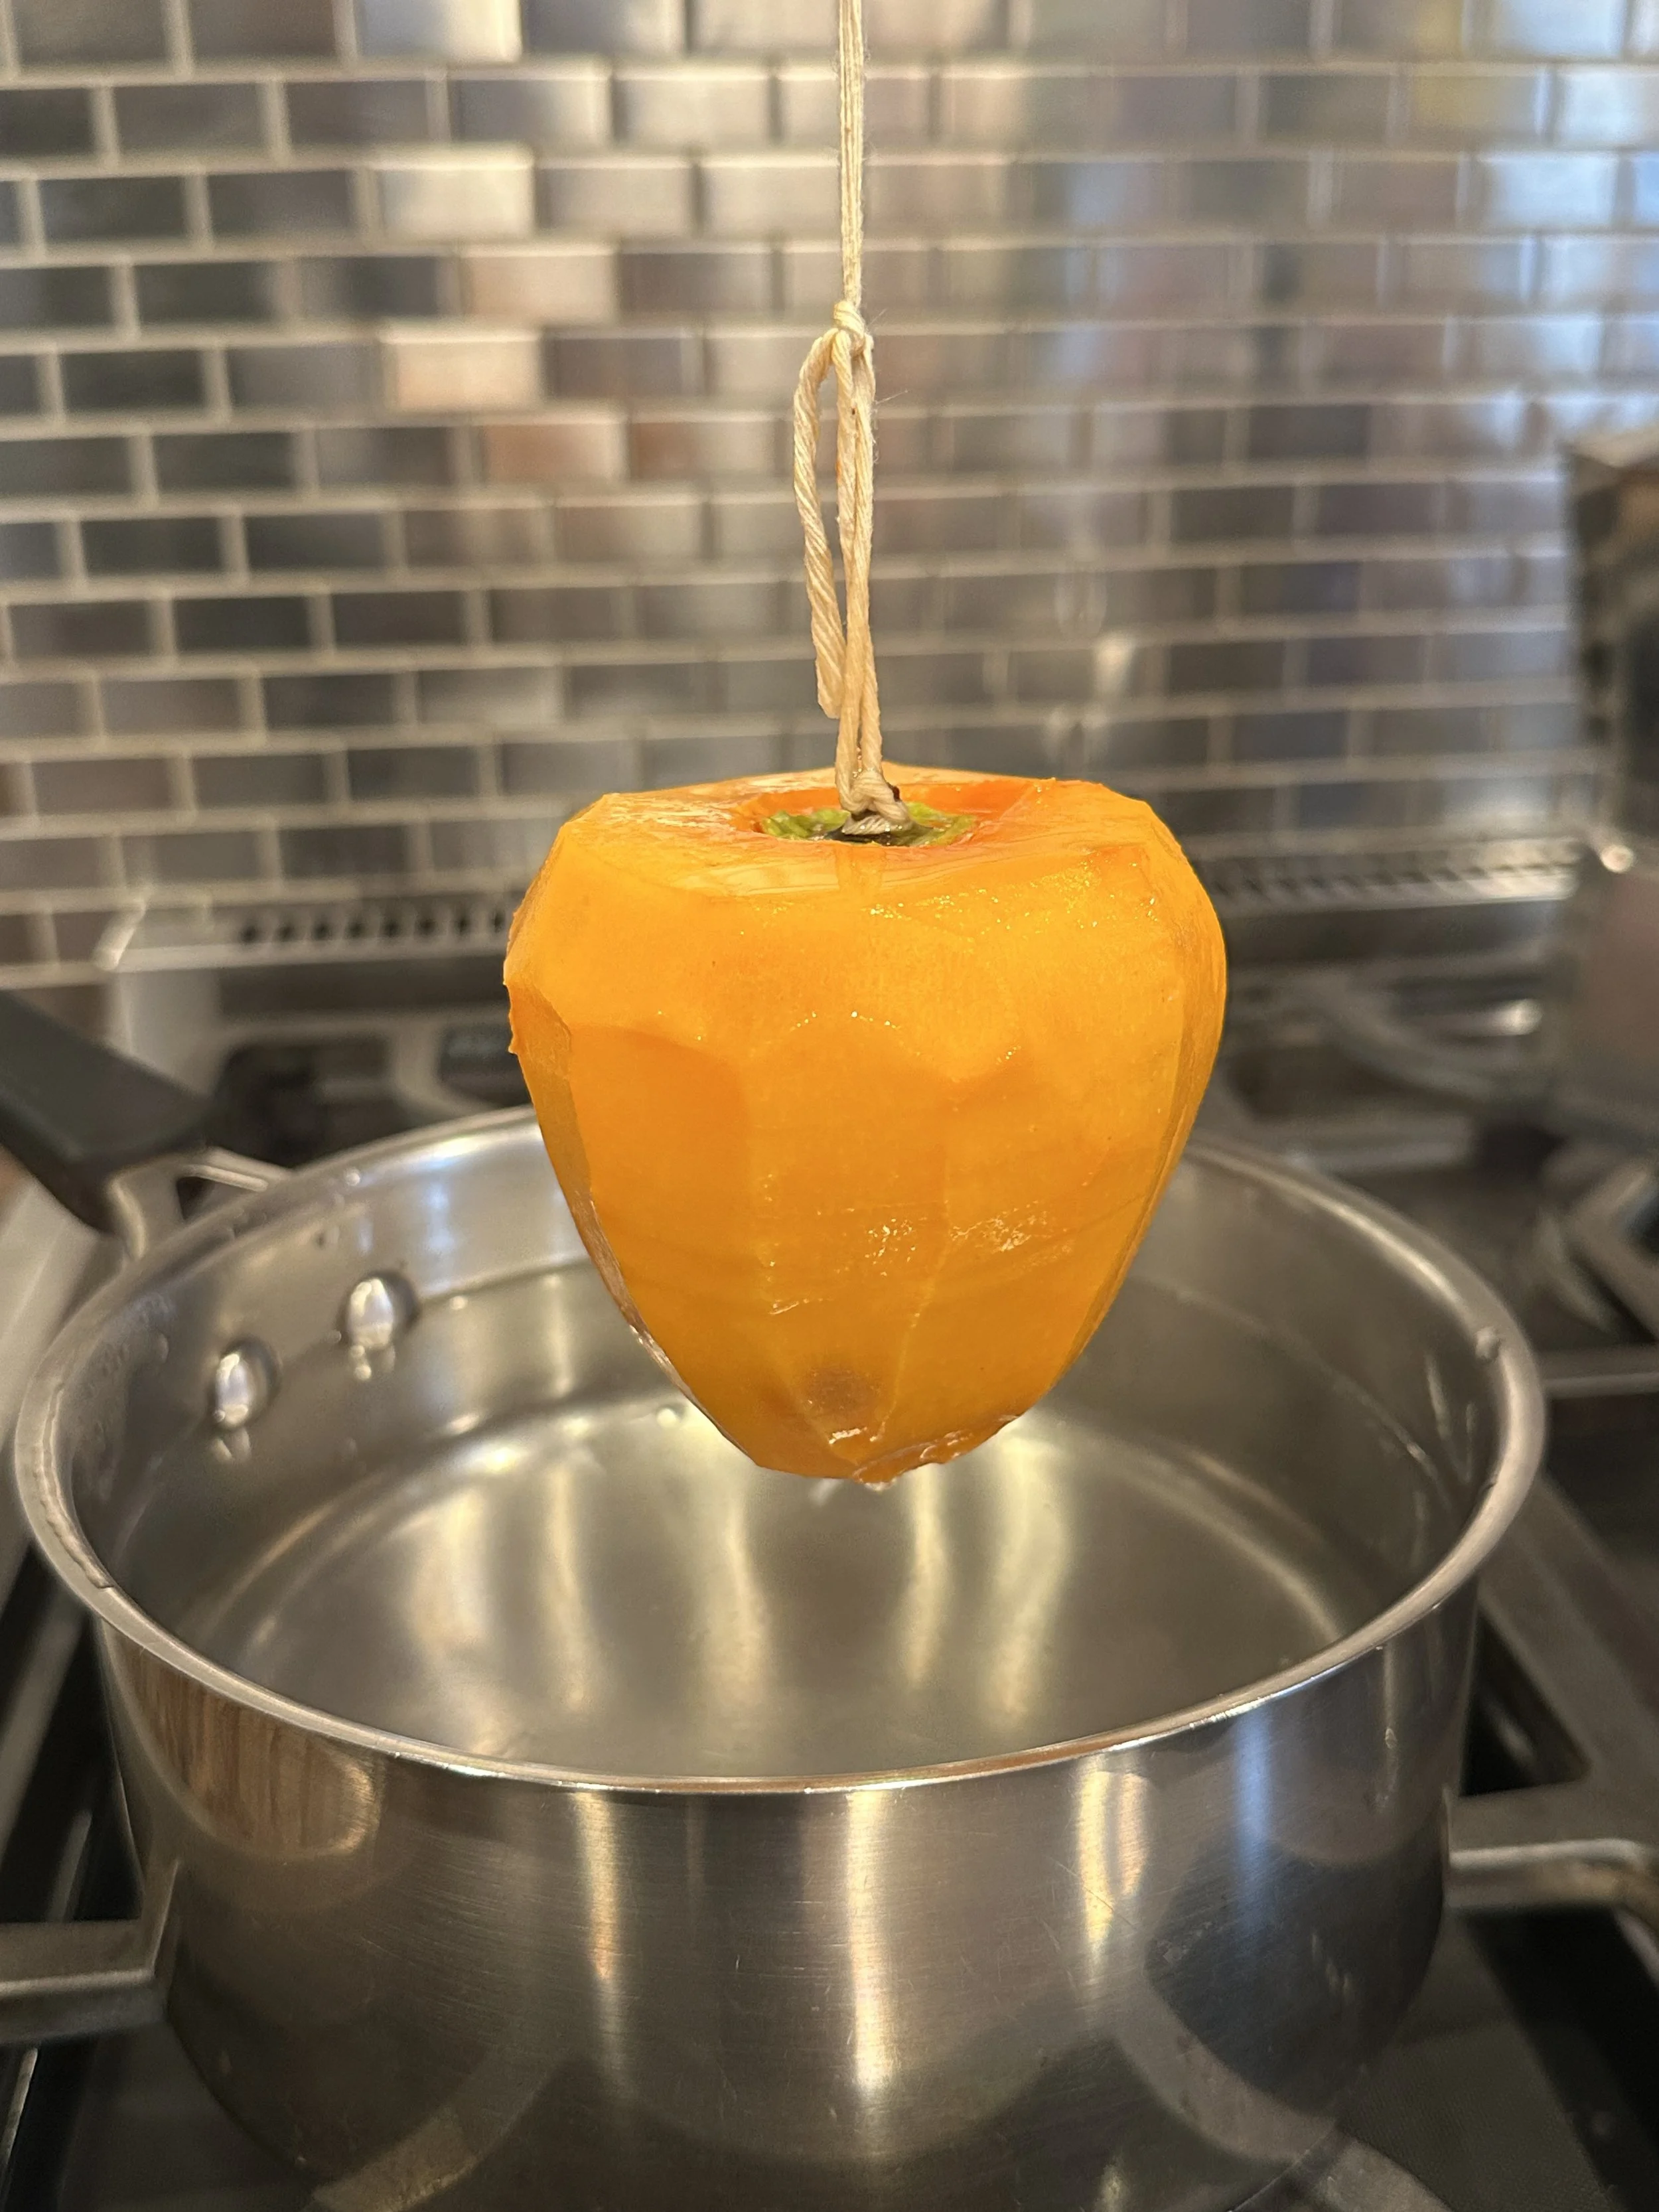
Once the strings were attached, I used a small petty knife to trim the tops so that the surface would be flat, removed any excess leaves, and peeled away the skin with a vegetable peeler. This was the most consuming part since the surface of the persimmon is slippery! This is when it’s important that the persimmons are not too ripe because it can get hard to peel. Some people choose to use a small paring knife to peel away the skin, if you’re skilled enough and find that method easier.
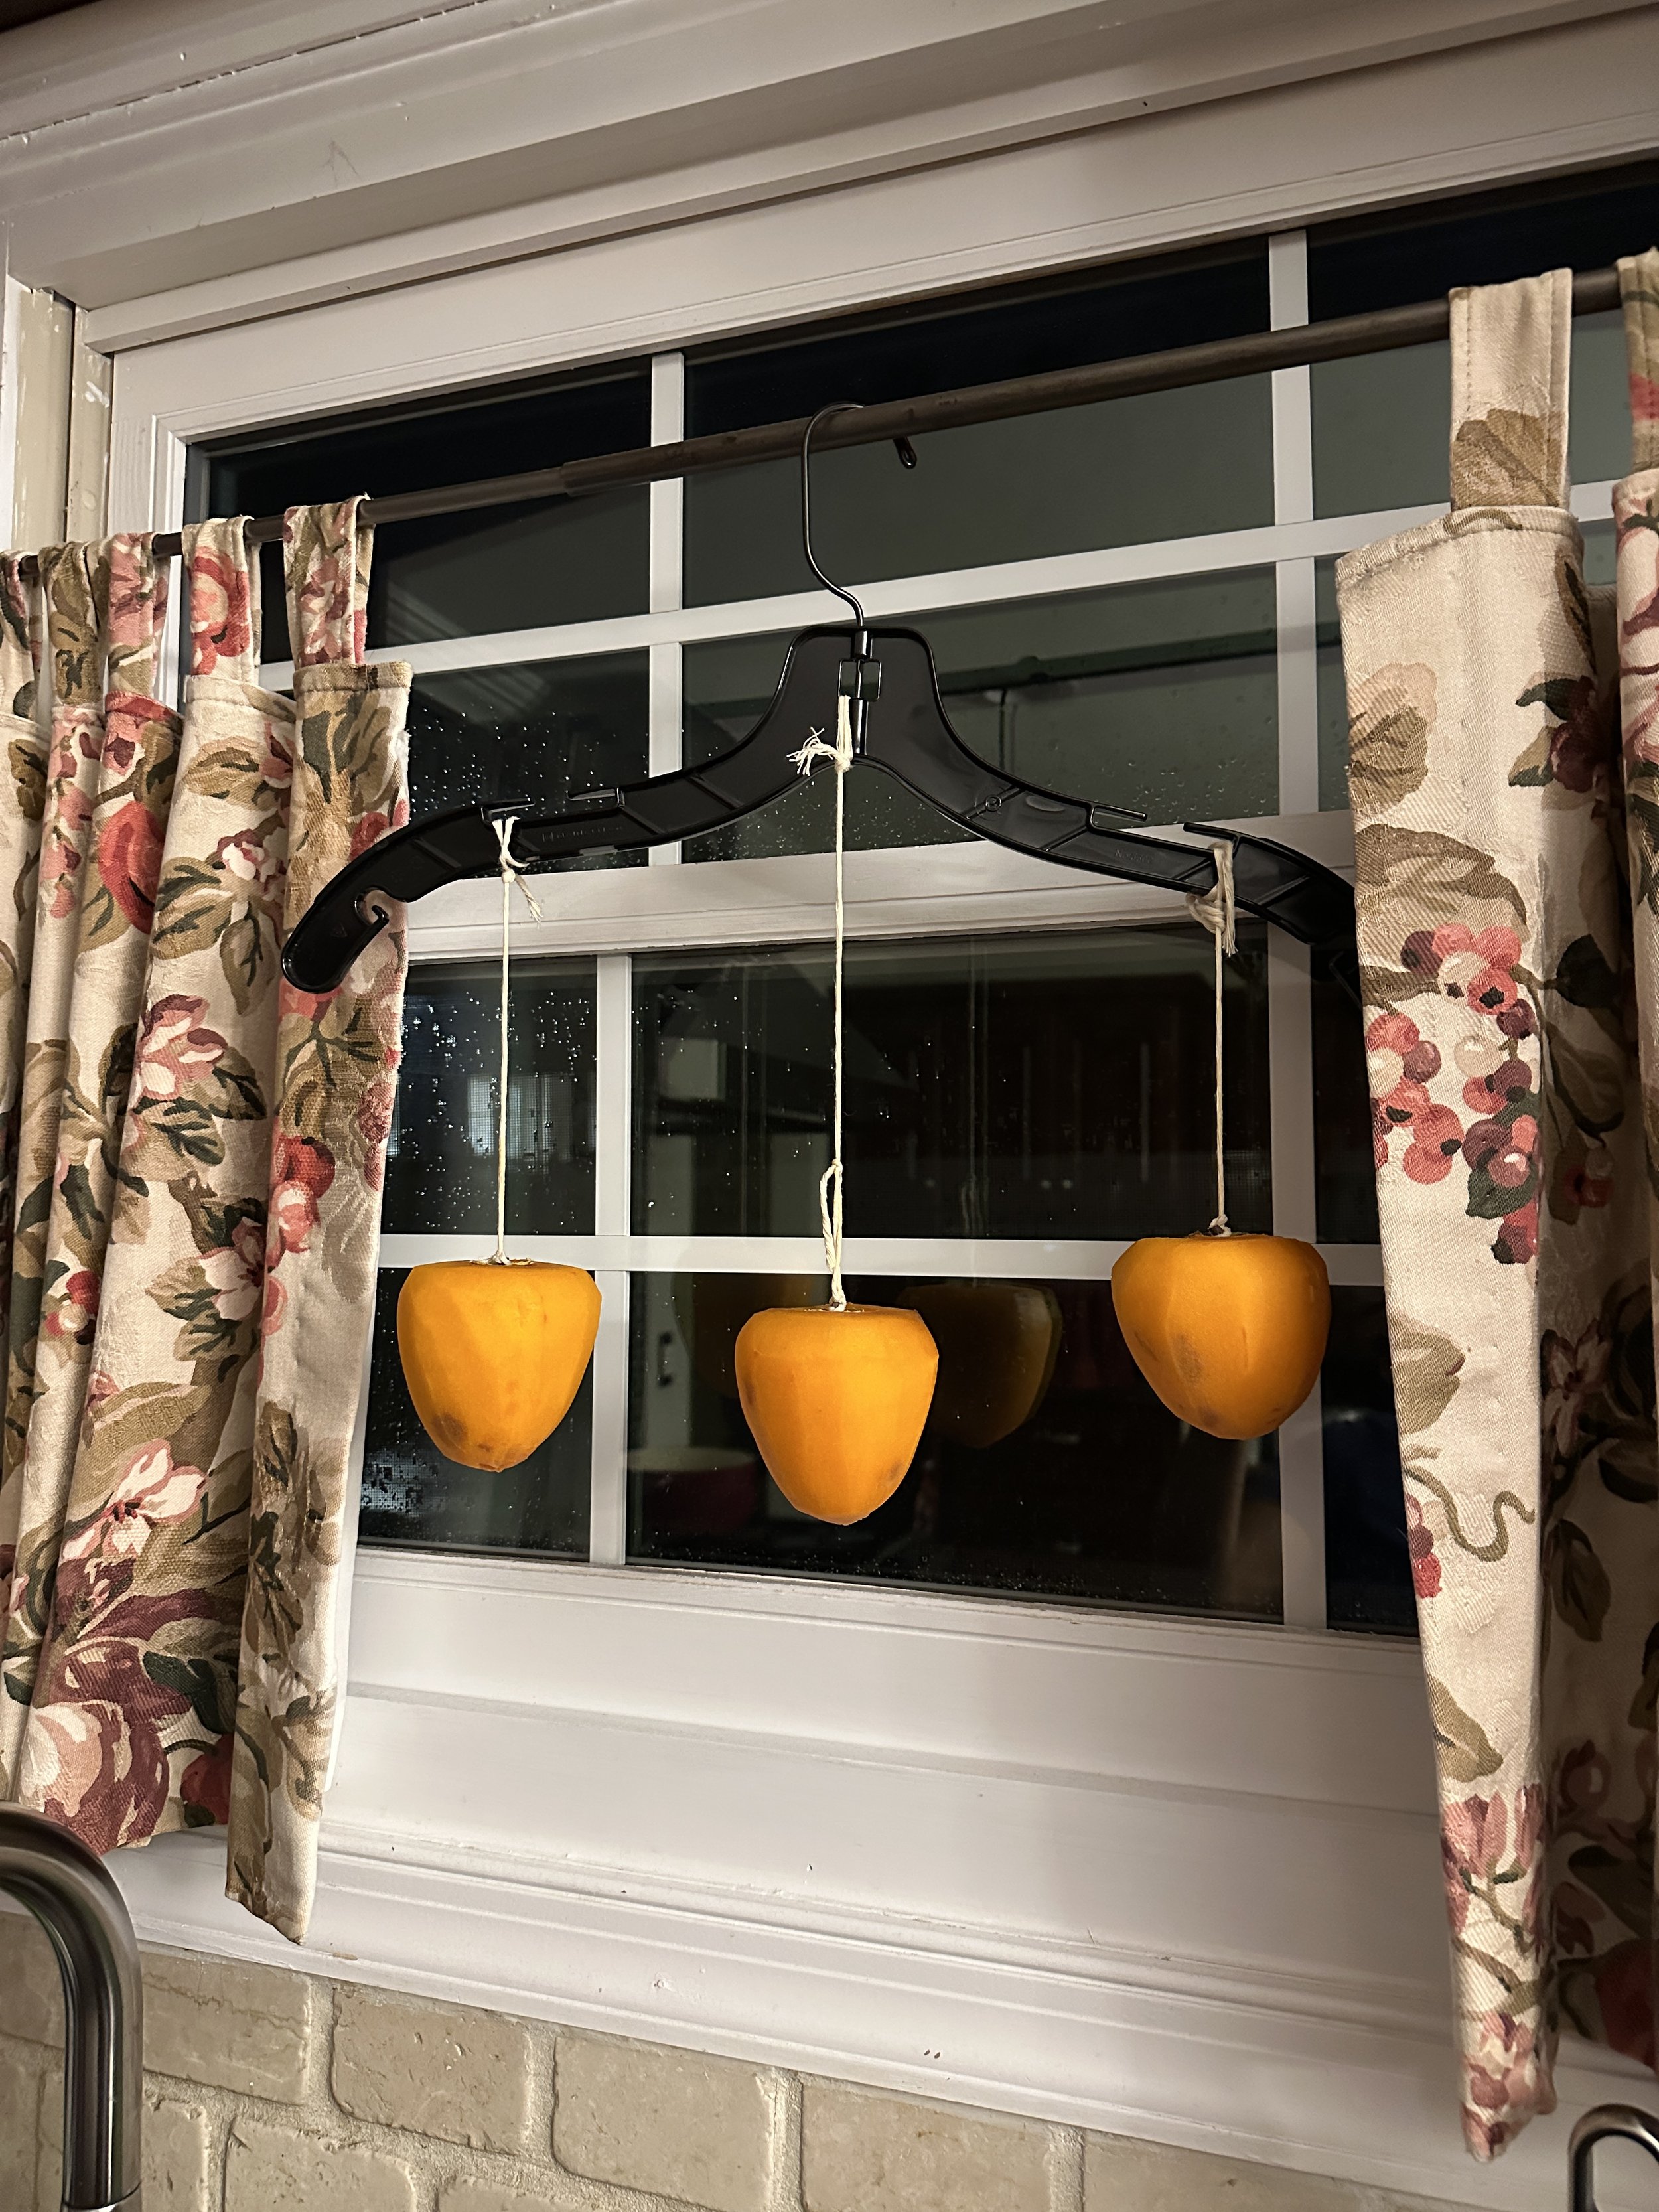
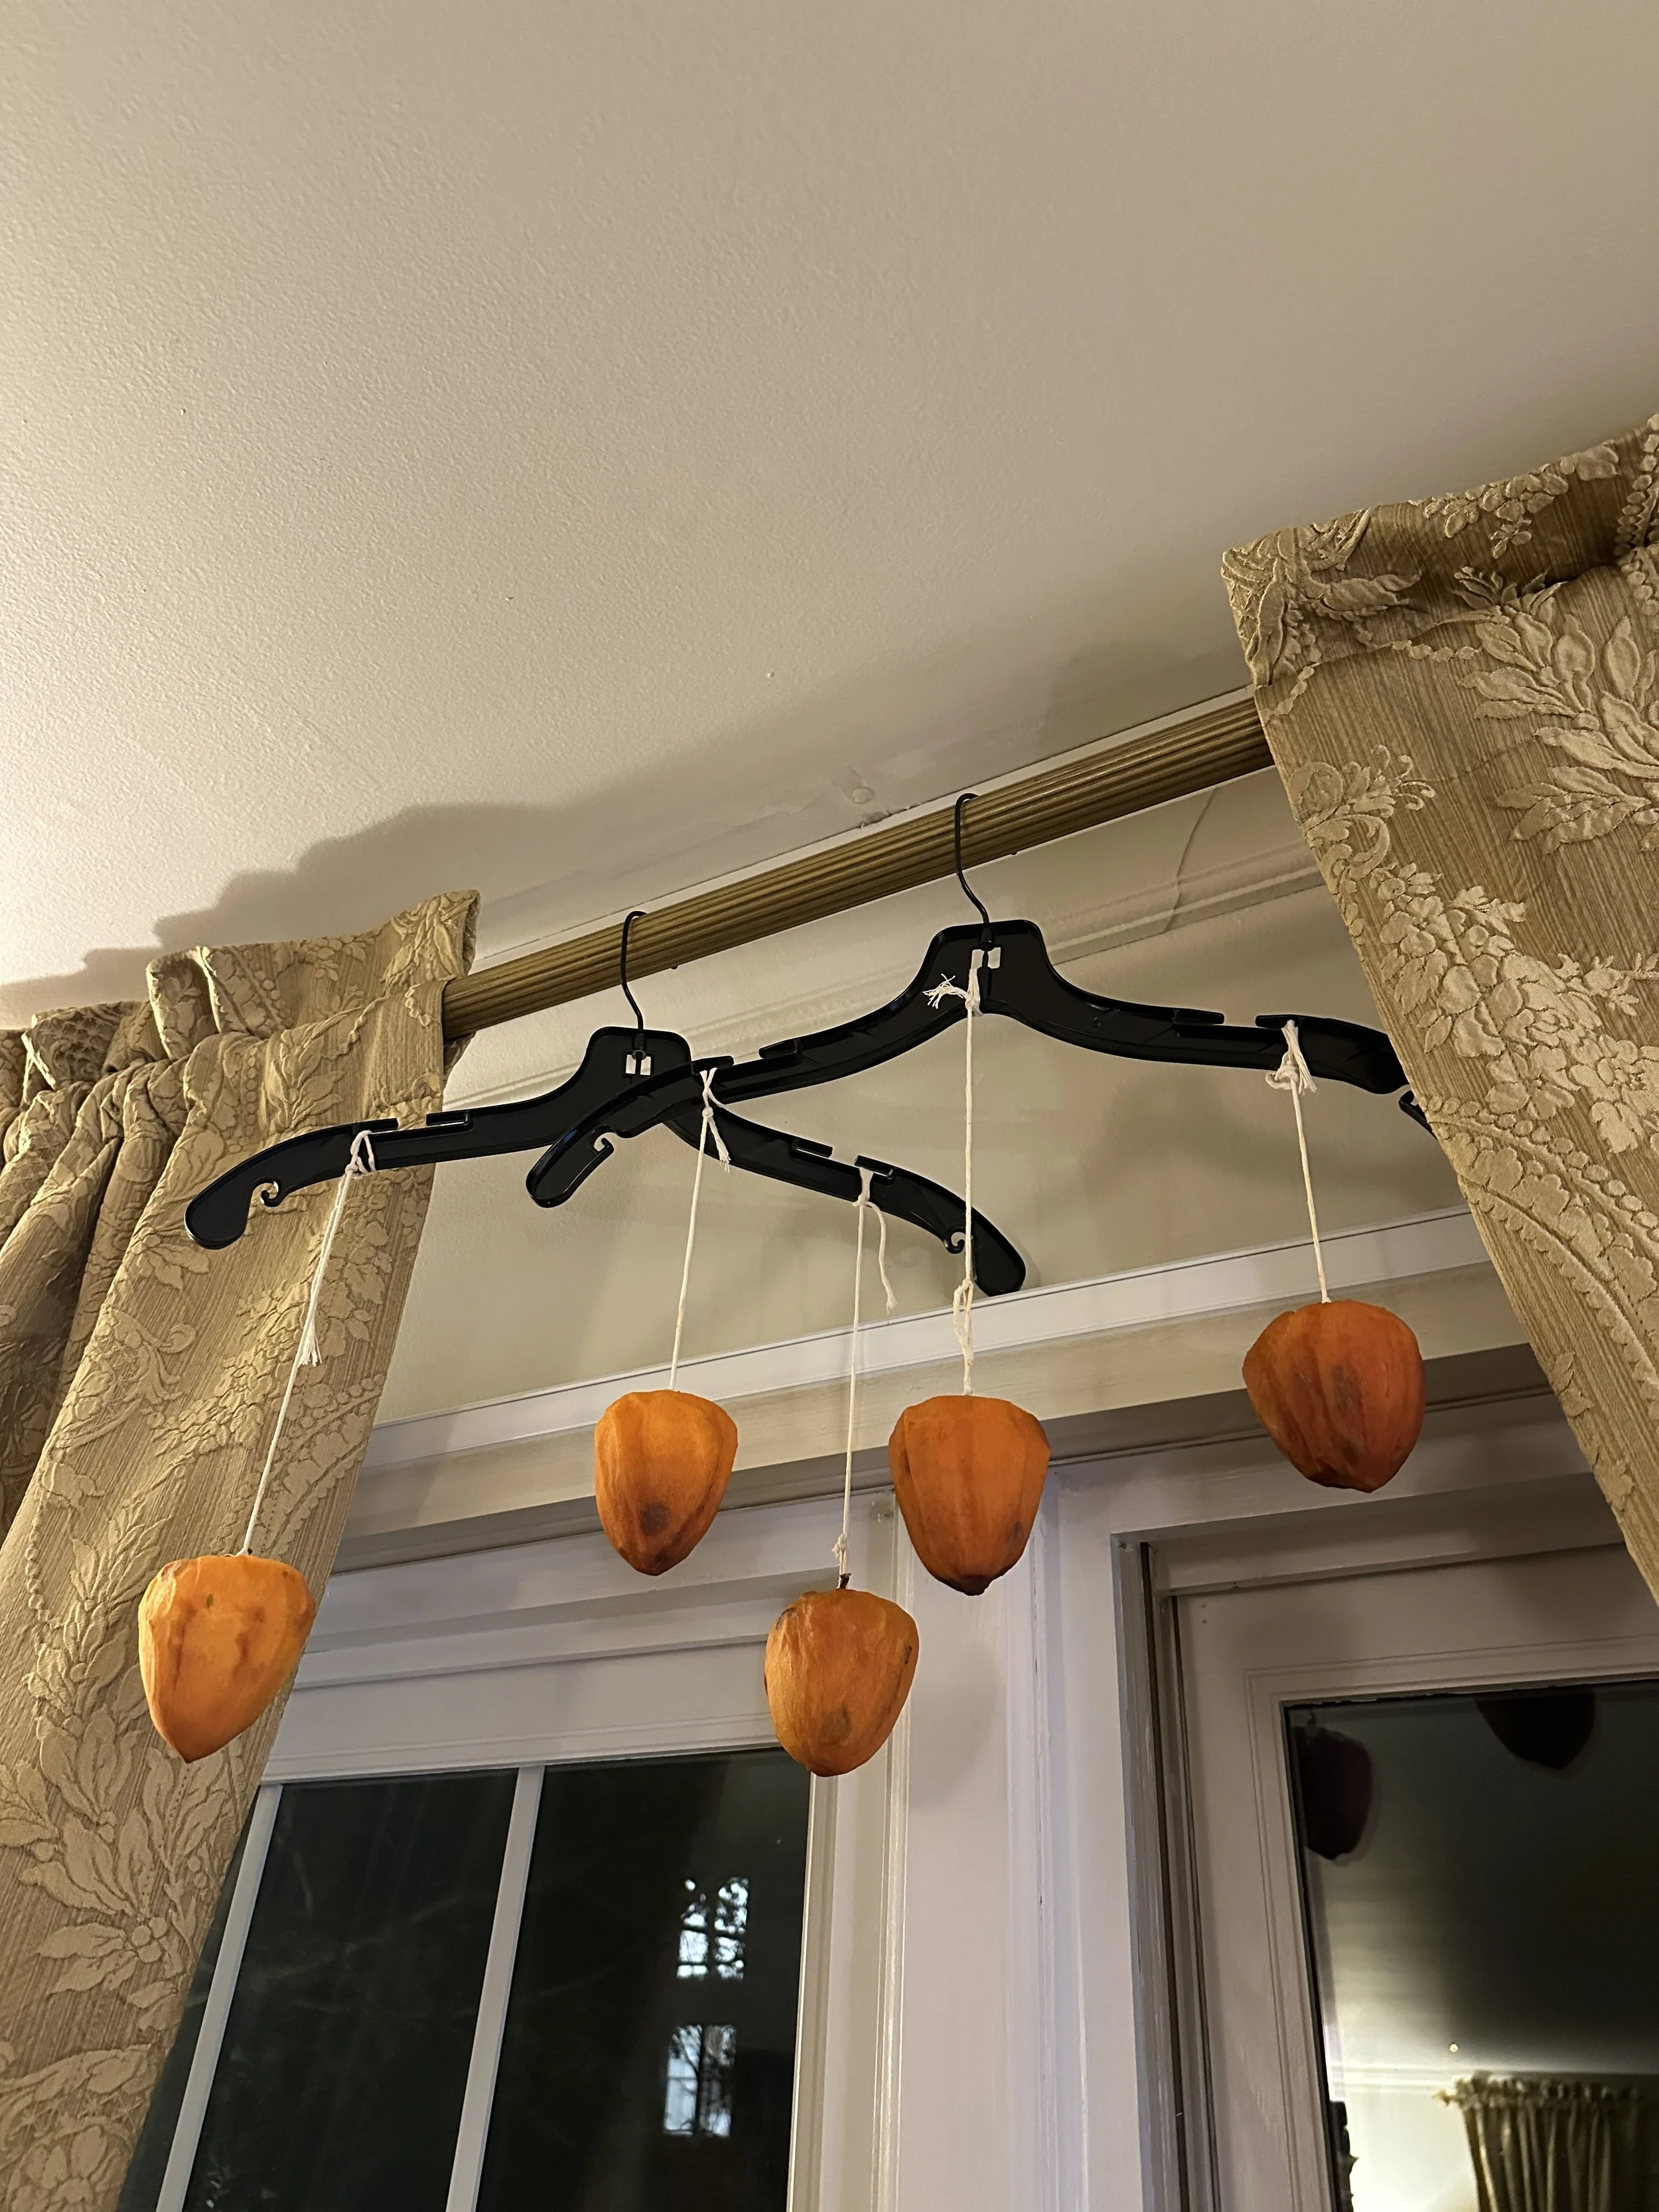
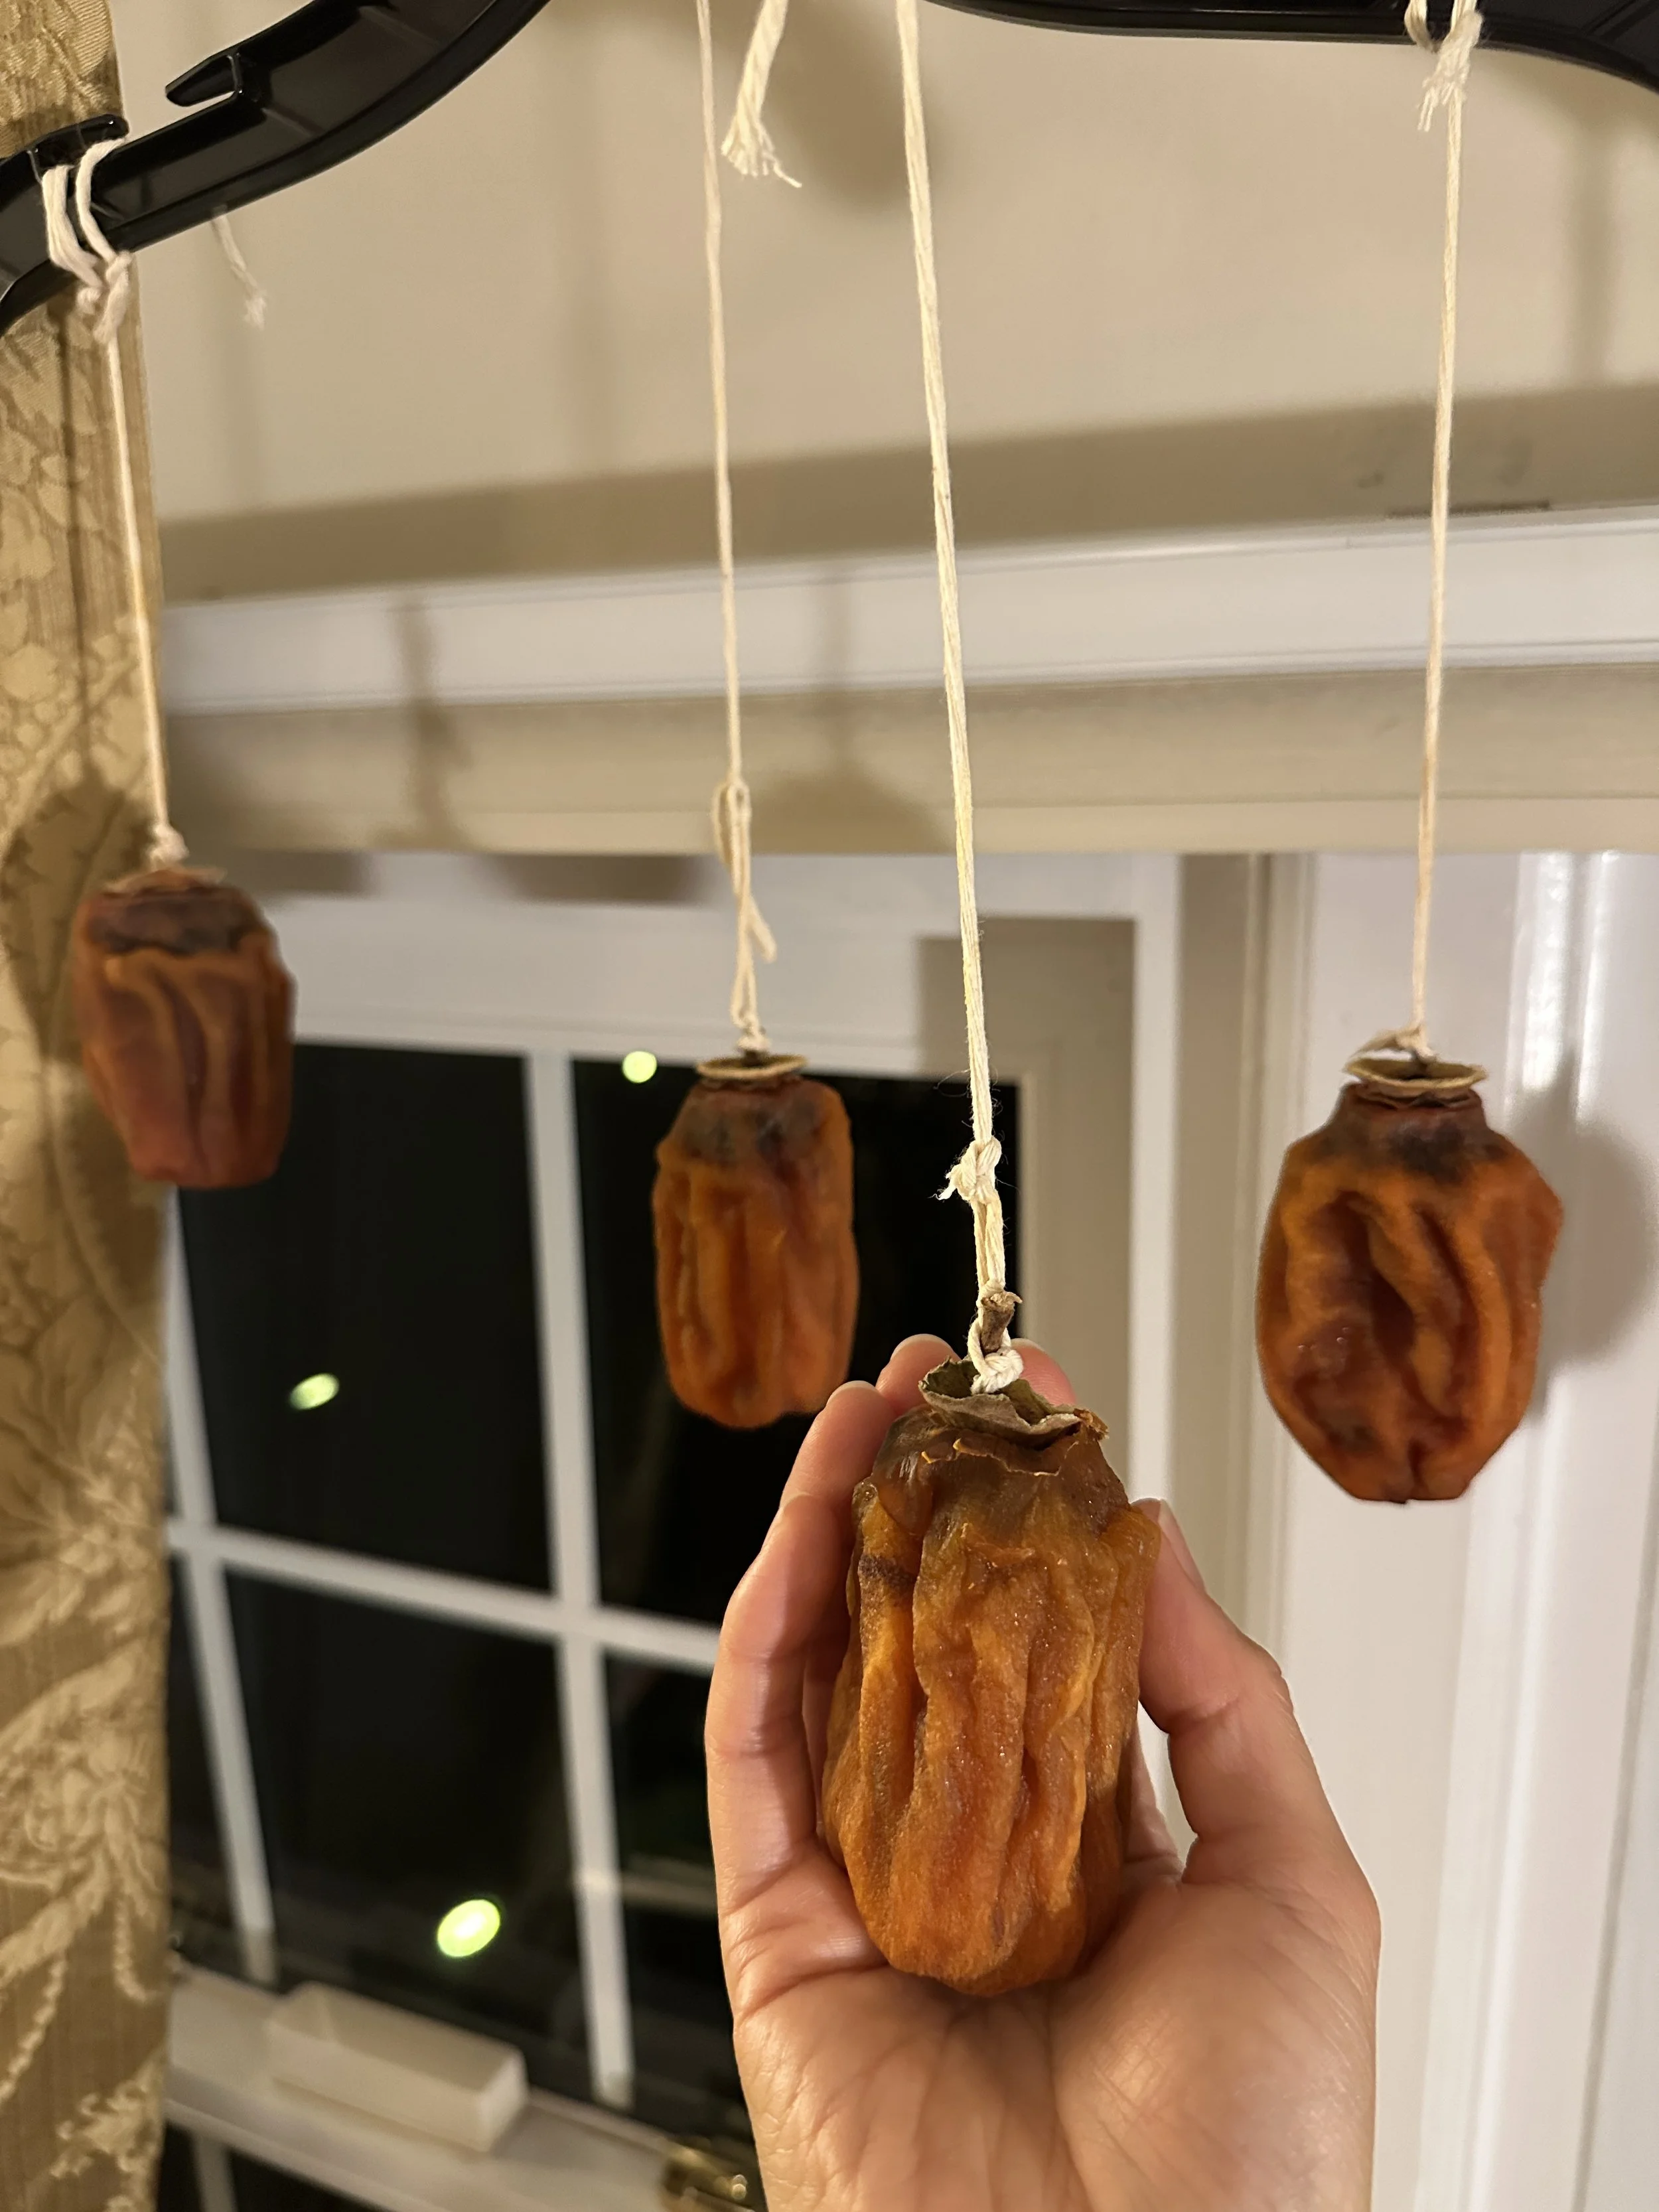
One of the most important parts is to dip each peeled persimmon into hot water that had just boiled. This step sterilizes the fruit and helps limit mold growth during the drying process or any bacteria that was introduced from the cutting board or knife. Finally, the persimmons are ready to hang! I tied 3 persimmons to a clothing hanger and tied a few knots to secure them in place. I made sure to balance the weights and hung the persimmons on the high part of my window curtain rod, allowing them to receive the morning sun. The hanger was a makeshift way that ended up working well and used things I already had! Some people use a clothing drying rack or if you’re really into it, some people will build a wooden structure to house them. In my case, the hanger worked well for a first trial and for a small batch. But I’d definitely consider a different method if I decide to make more one day.

Week 2
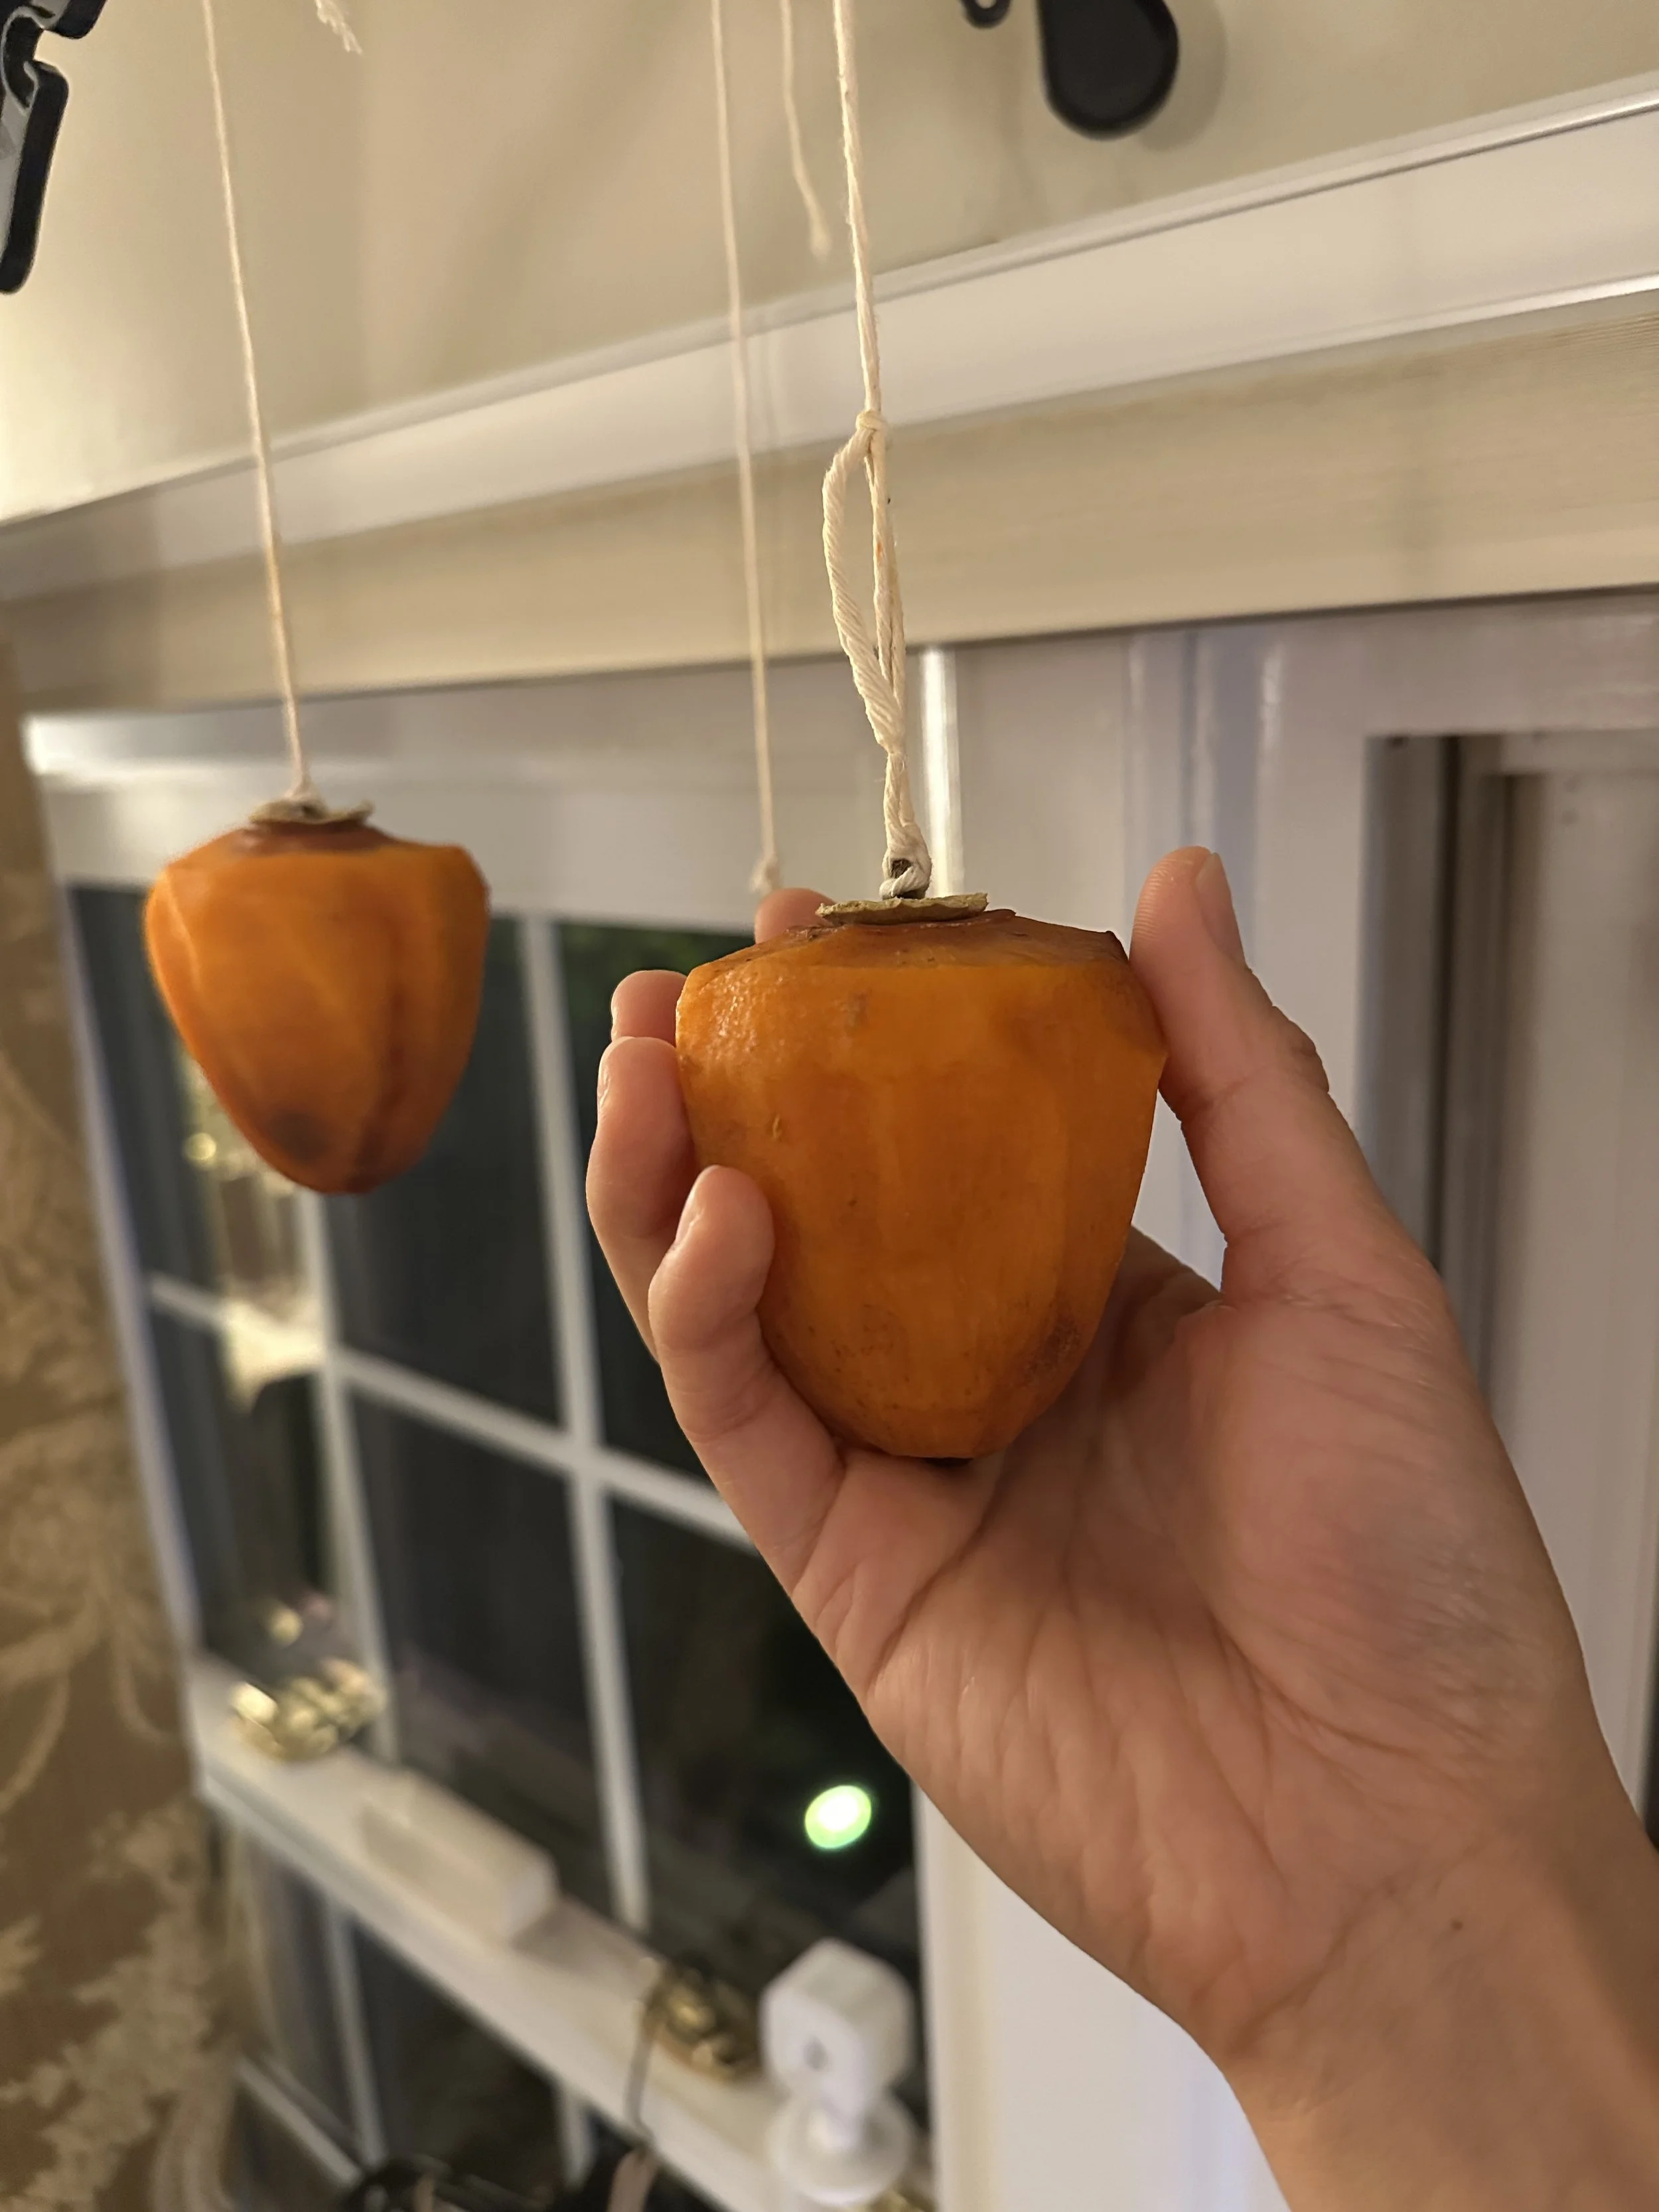
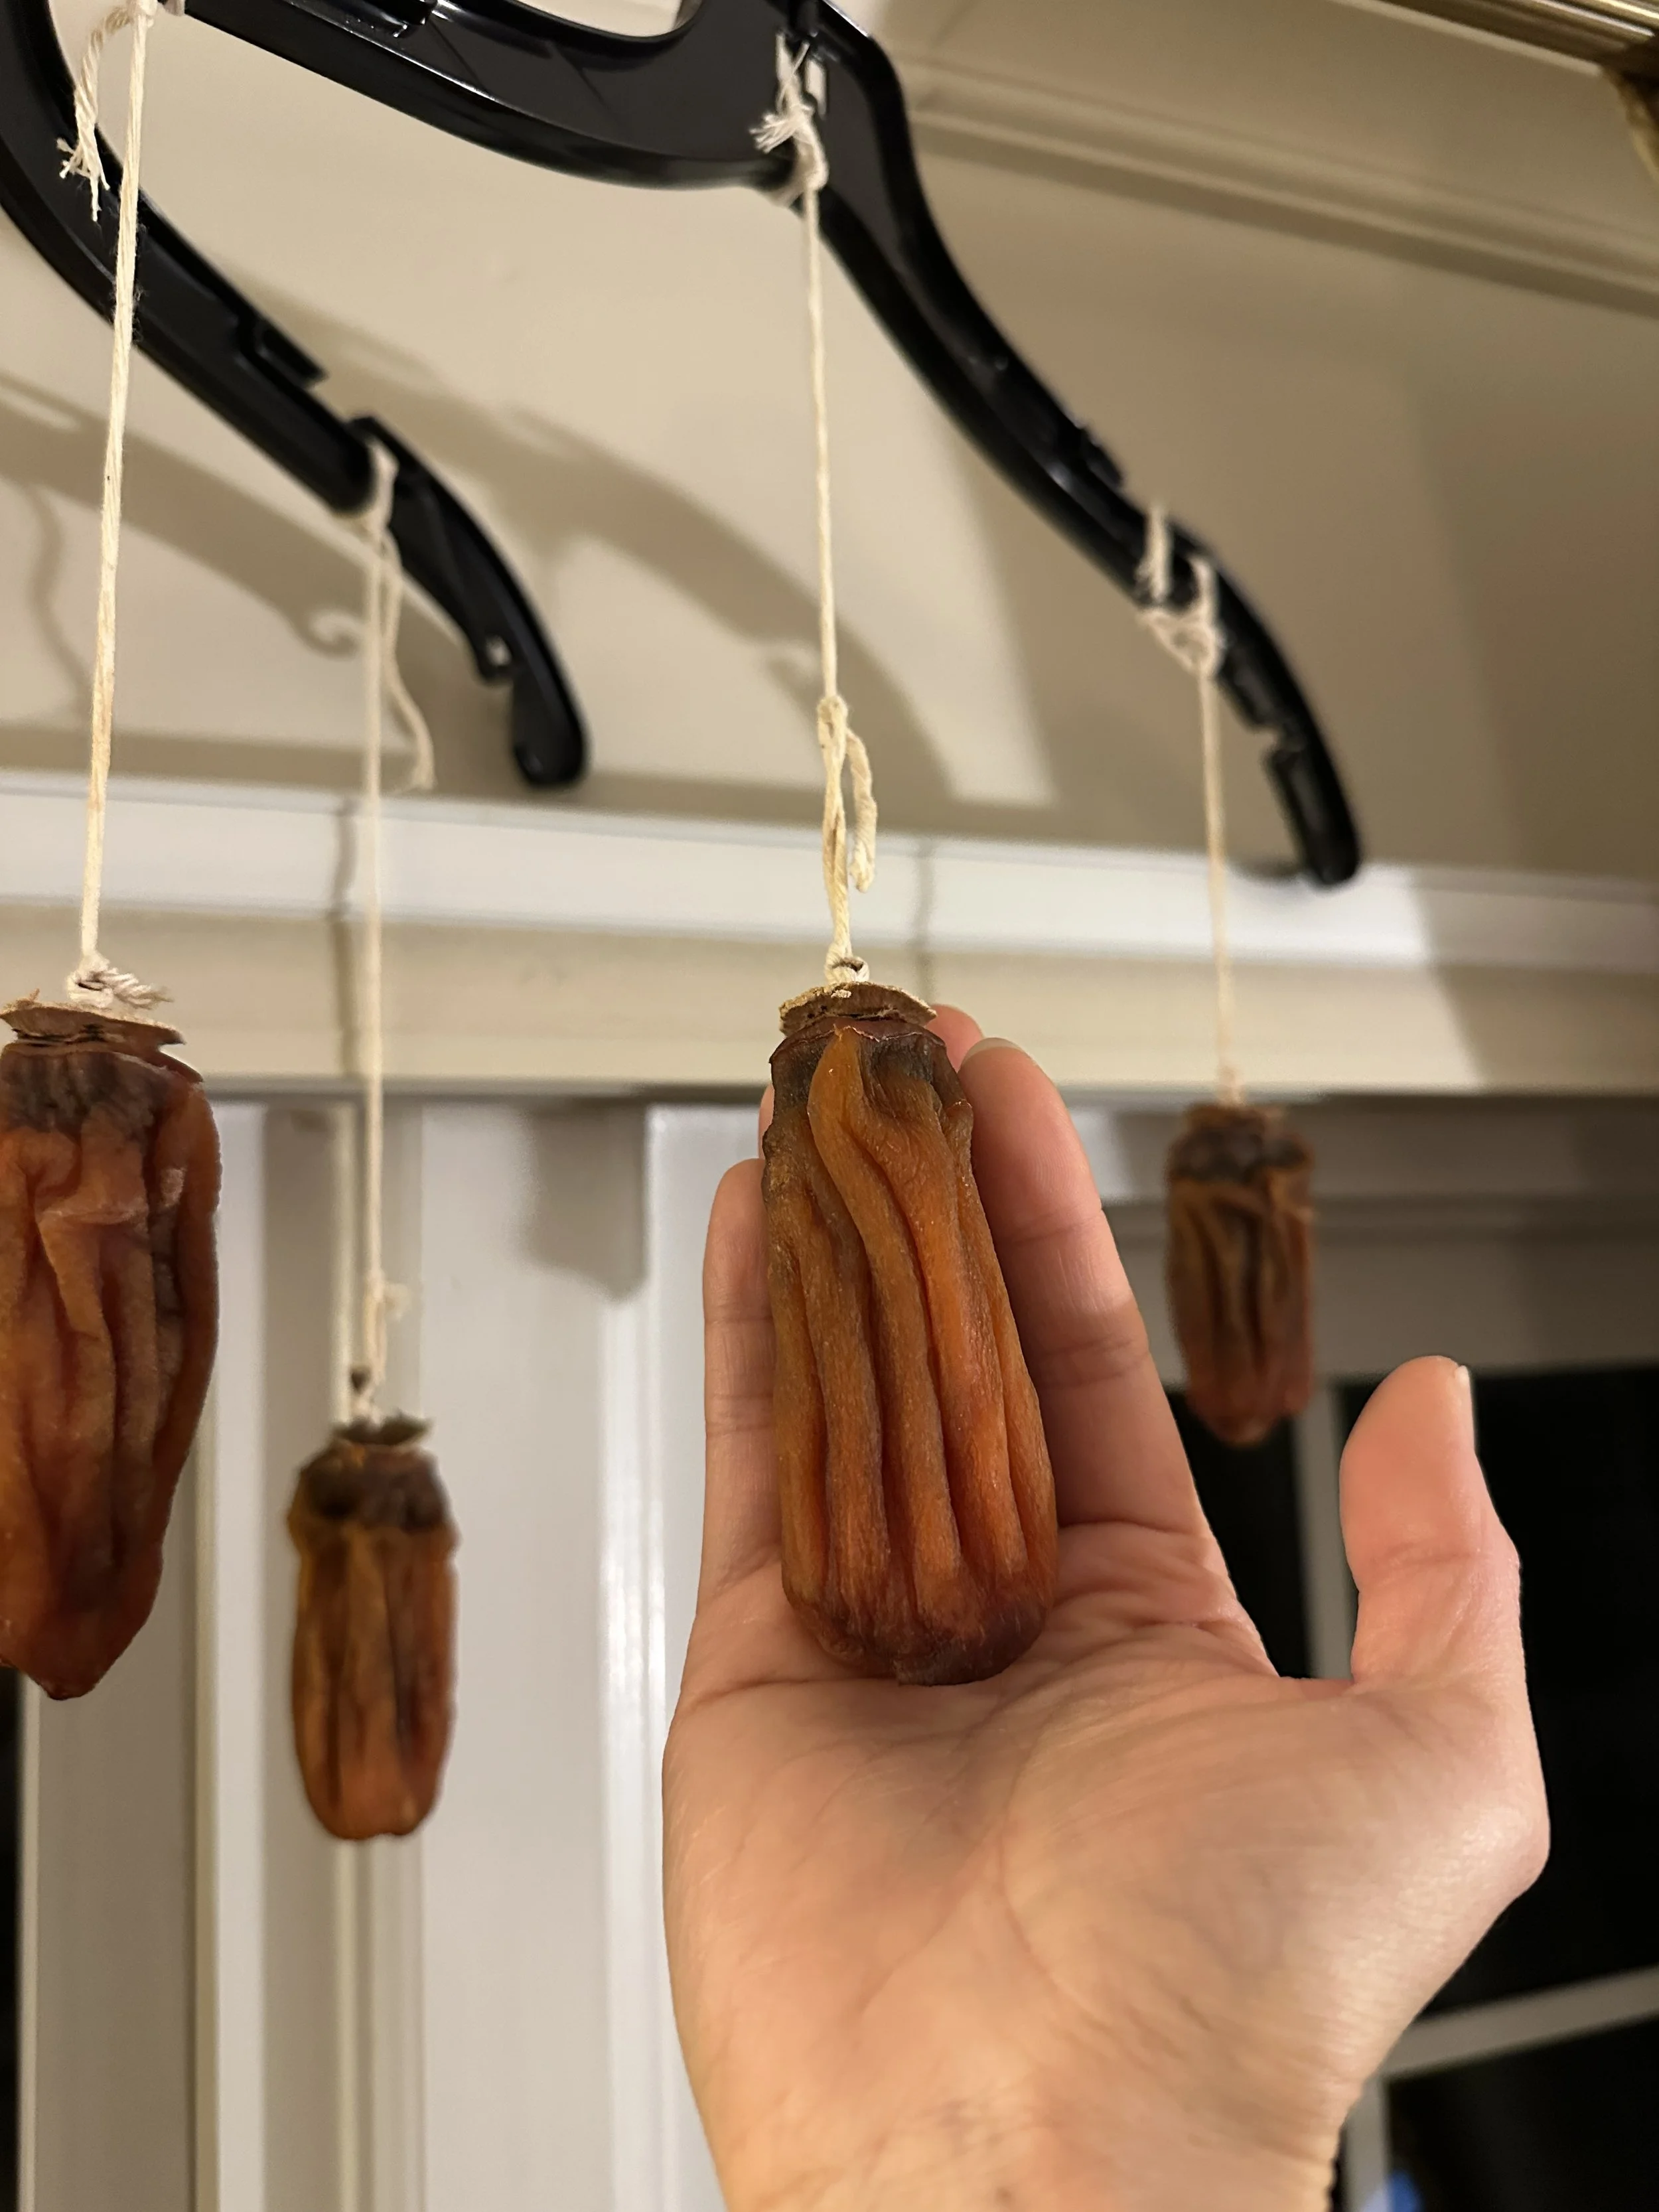
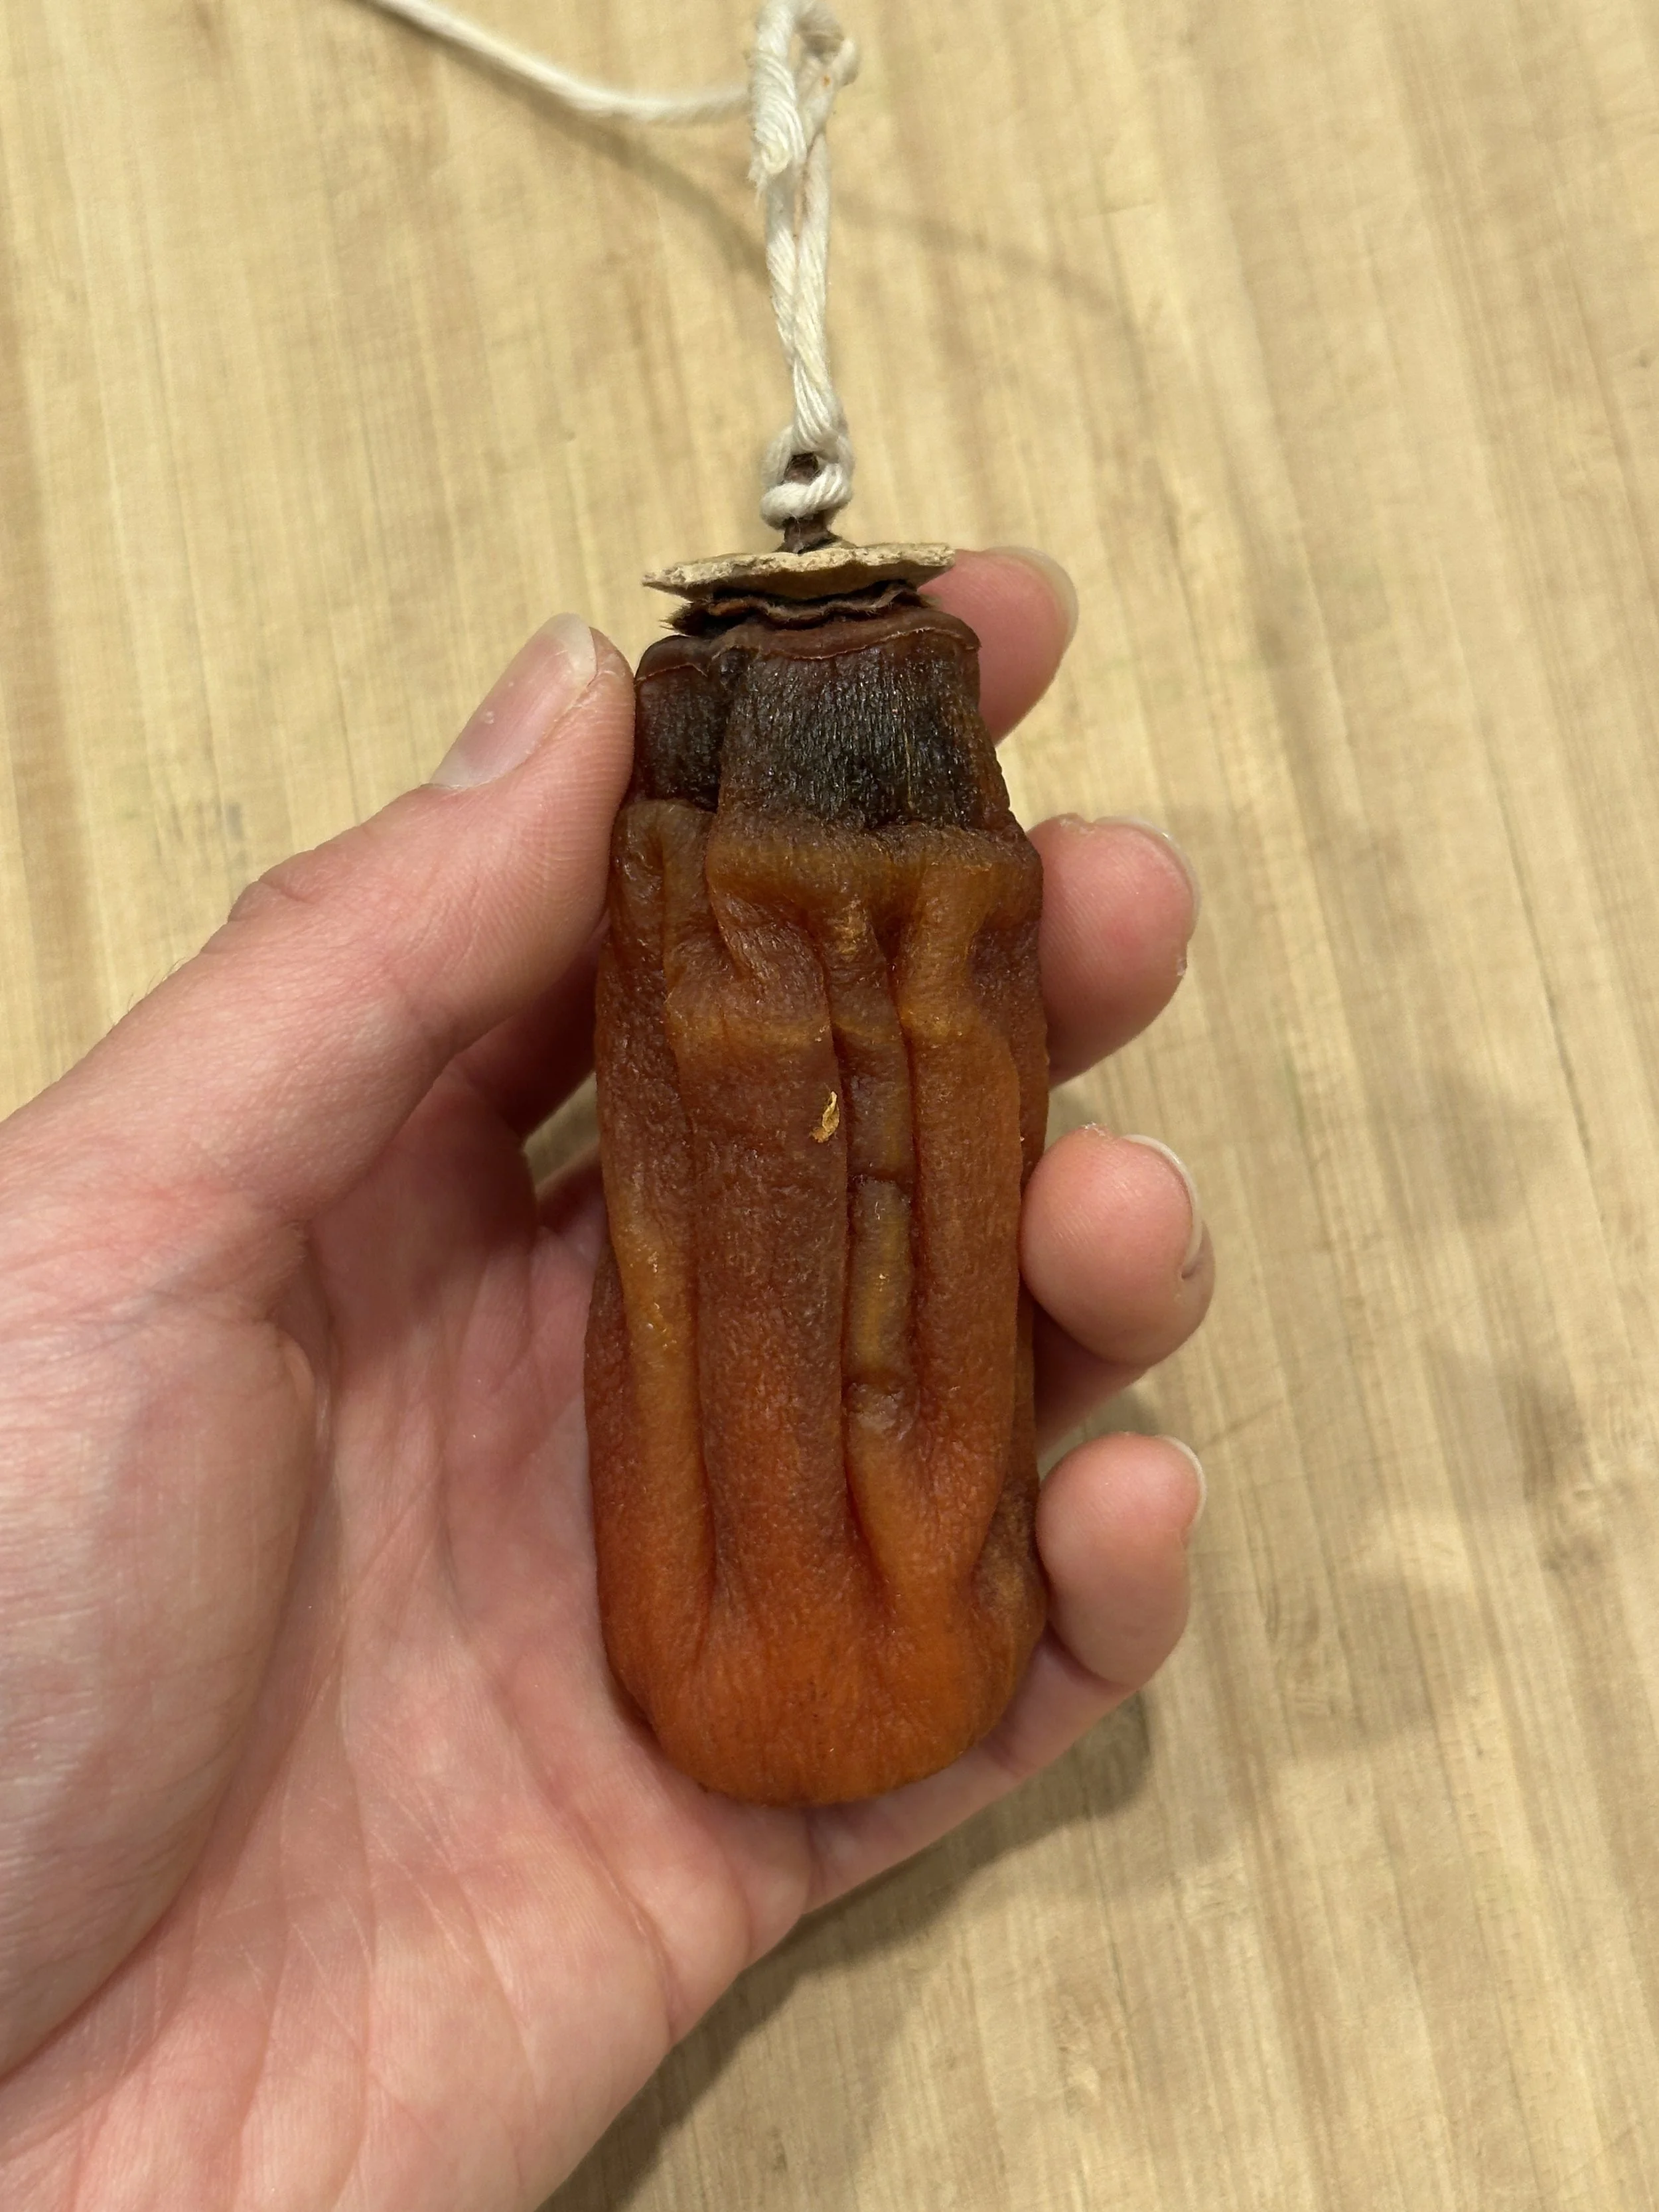
The week after preparing the persimmons is really a waiting game. You essentially have to wait until the persimmons form an external ‘skin’ so that you can start massaging them — it did take around 7 days for the persimmons to form the skin. At this stage, I was really excited because the persimmons hadn’t fallen off, I was starting to see them dry out and they looked really promising. I even took them outside on a sunny day because I loved the deep orange color glistening in the sunlight so much and wanted to admire the beauty of the process! Mind you, it was pretty cold at the beginning of December but I loved it!
Beginning to massage them was a new experience for me haha. This period of time was when I saw the most transformation of the persimmons and thought this initial stage of the preservation process was fascinating. They felt almost like a balloon filled with jam, they were delicate, yet the skin they had formed was tough enough to keep the persimmon together. At this point, I was curious if the persimmons would be edible and don’t have that astringent and waxy coating that comes from unripe hachiyas (something to try next year!). I continued to massage the persimmons once a day for a few minutes. The frequent massaging helps break up the hard inner pulp and encourages the sugars to migrate to the surface, ultimately resulting in a white sugar bloom.
Something I learned during my research is that some people leave their persimmons to dry outside the whole time. Since mine were inside, I wondered how the change in temperature from day to night, patterns of the wind, and access to sunlight might impact the overall drying time, the sugar formation/bloom, and ultimately flavor and texture of the final hoshigaki. But at the same time, I’ve also heard that some people’s persimmons were completely eaten by critters when left outside so there’s that pro of keeping them inside!

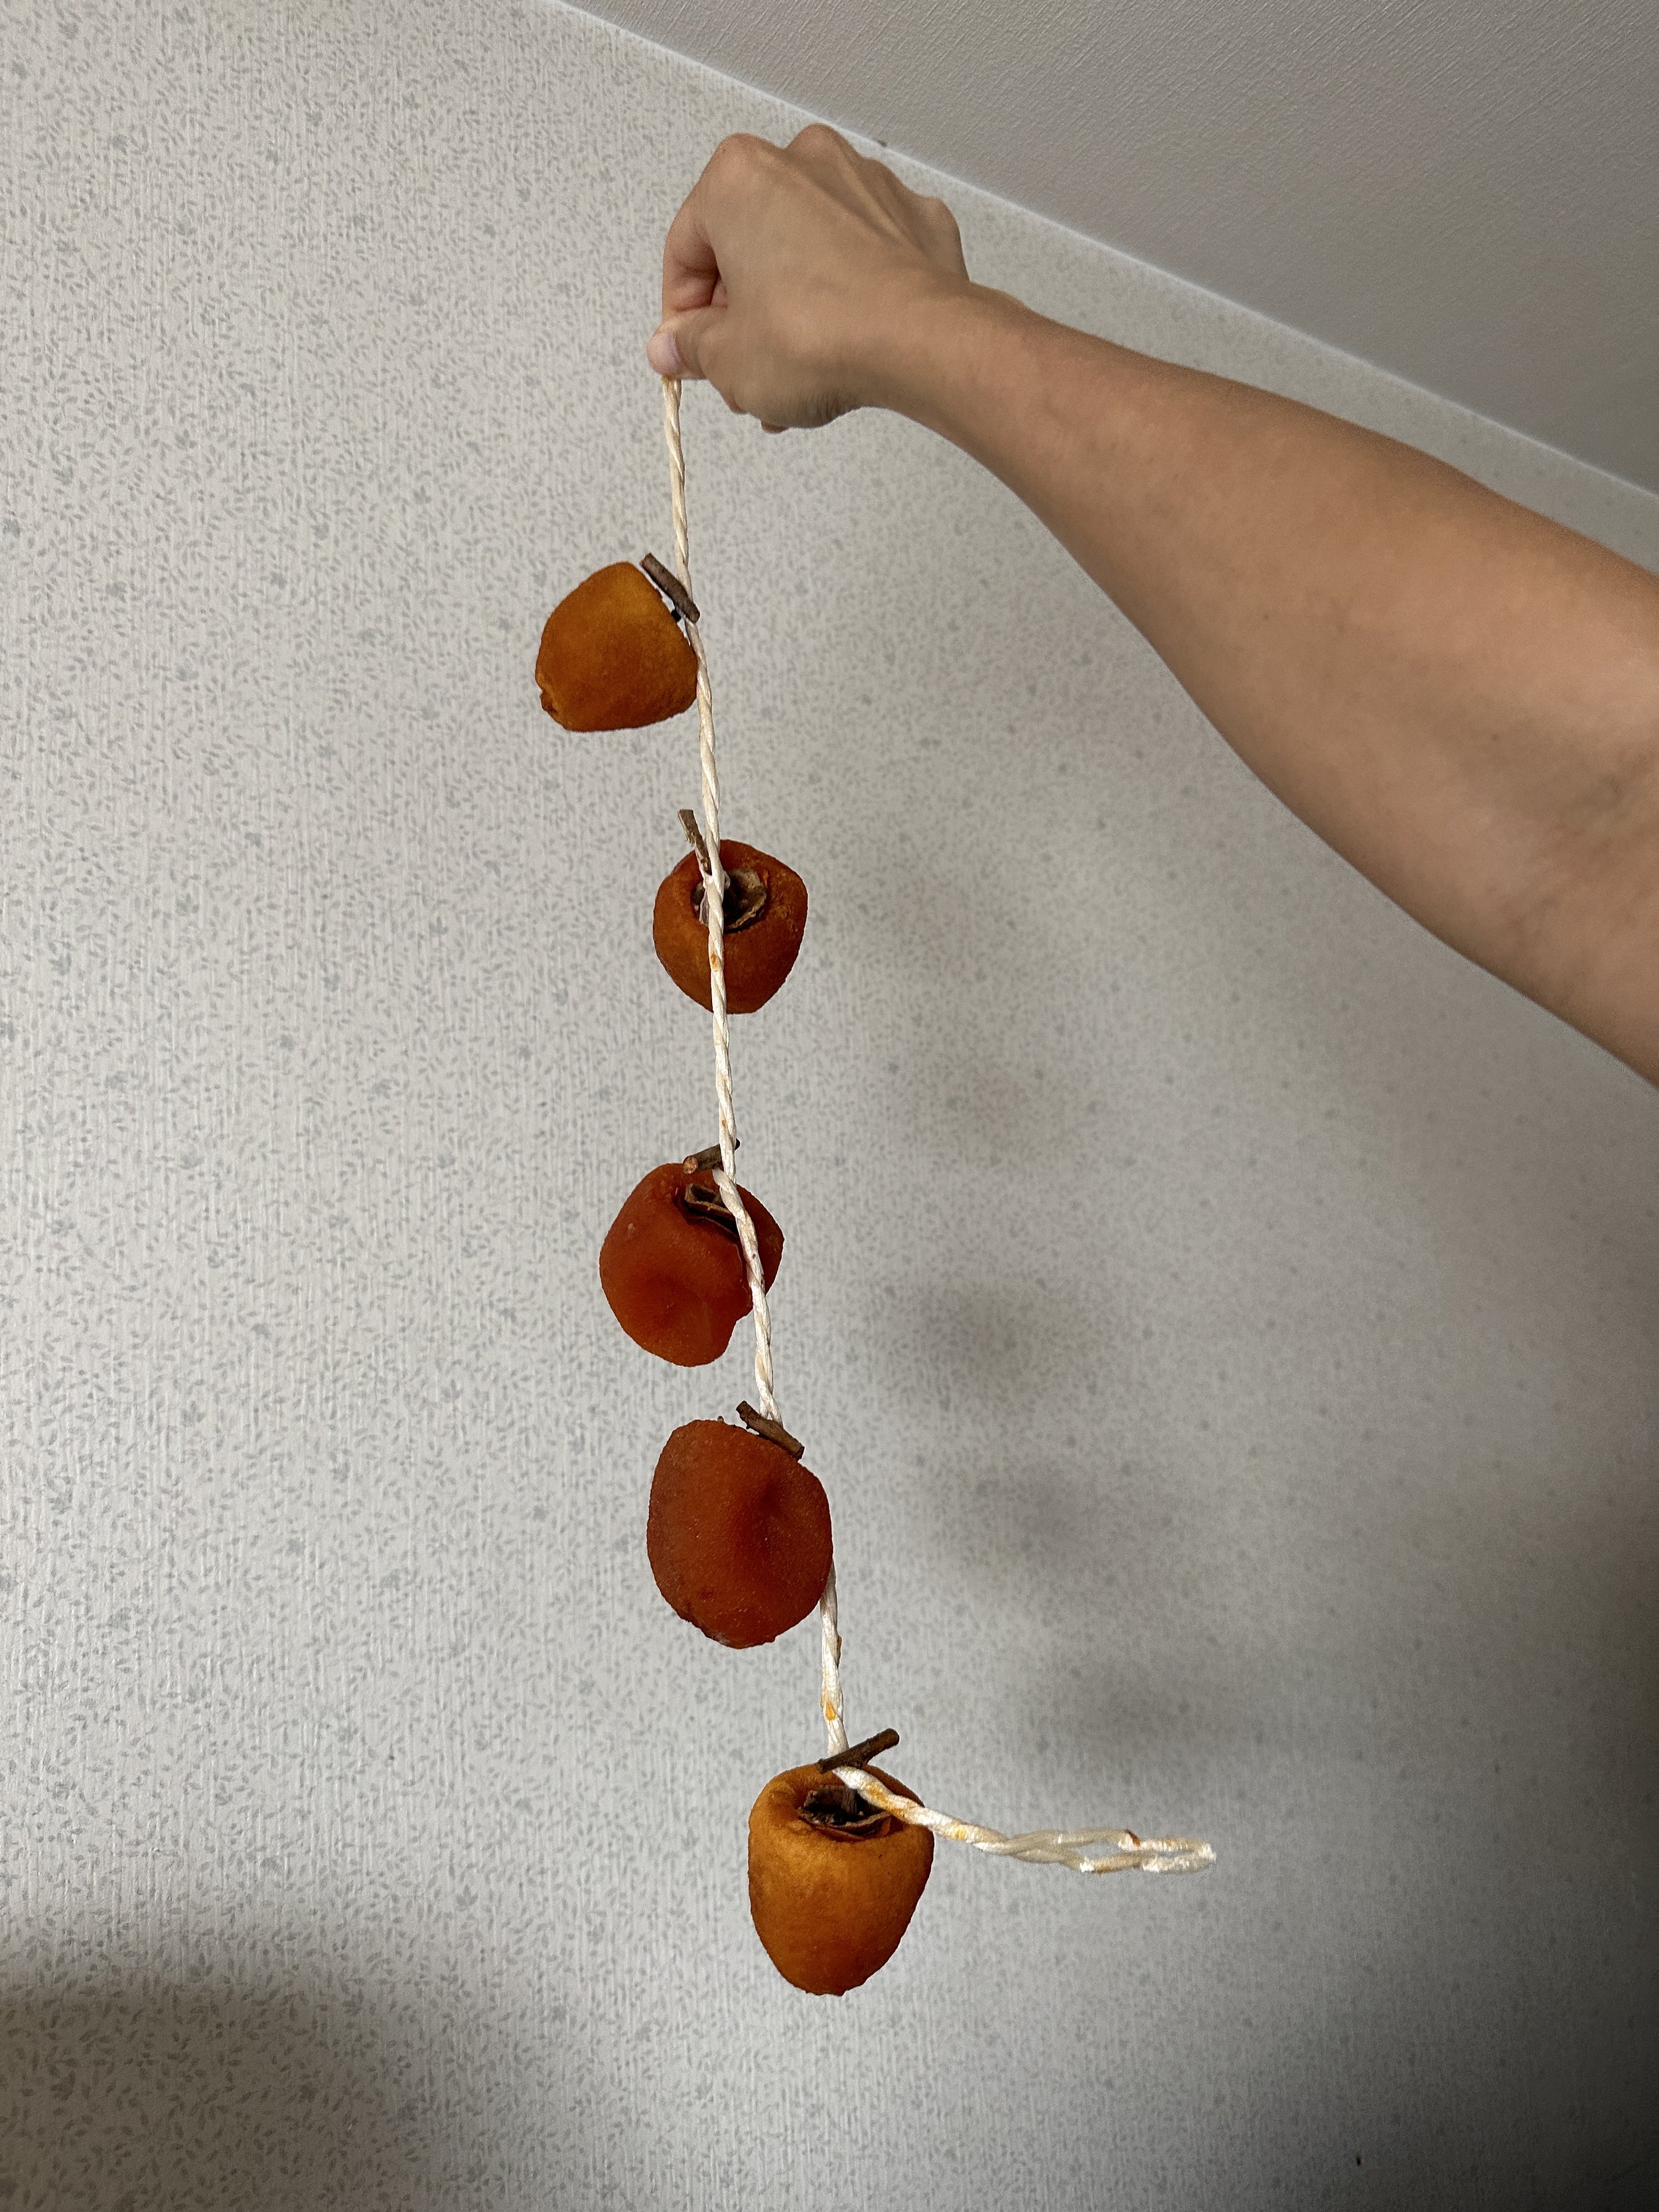
Week 3-5
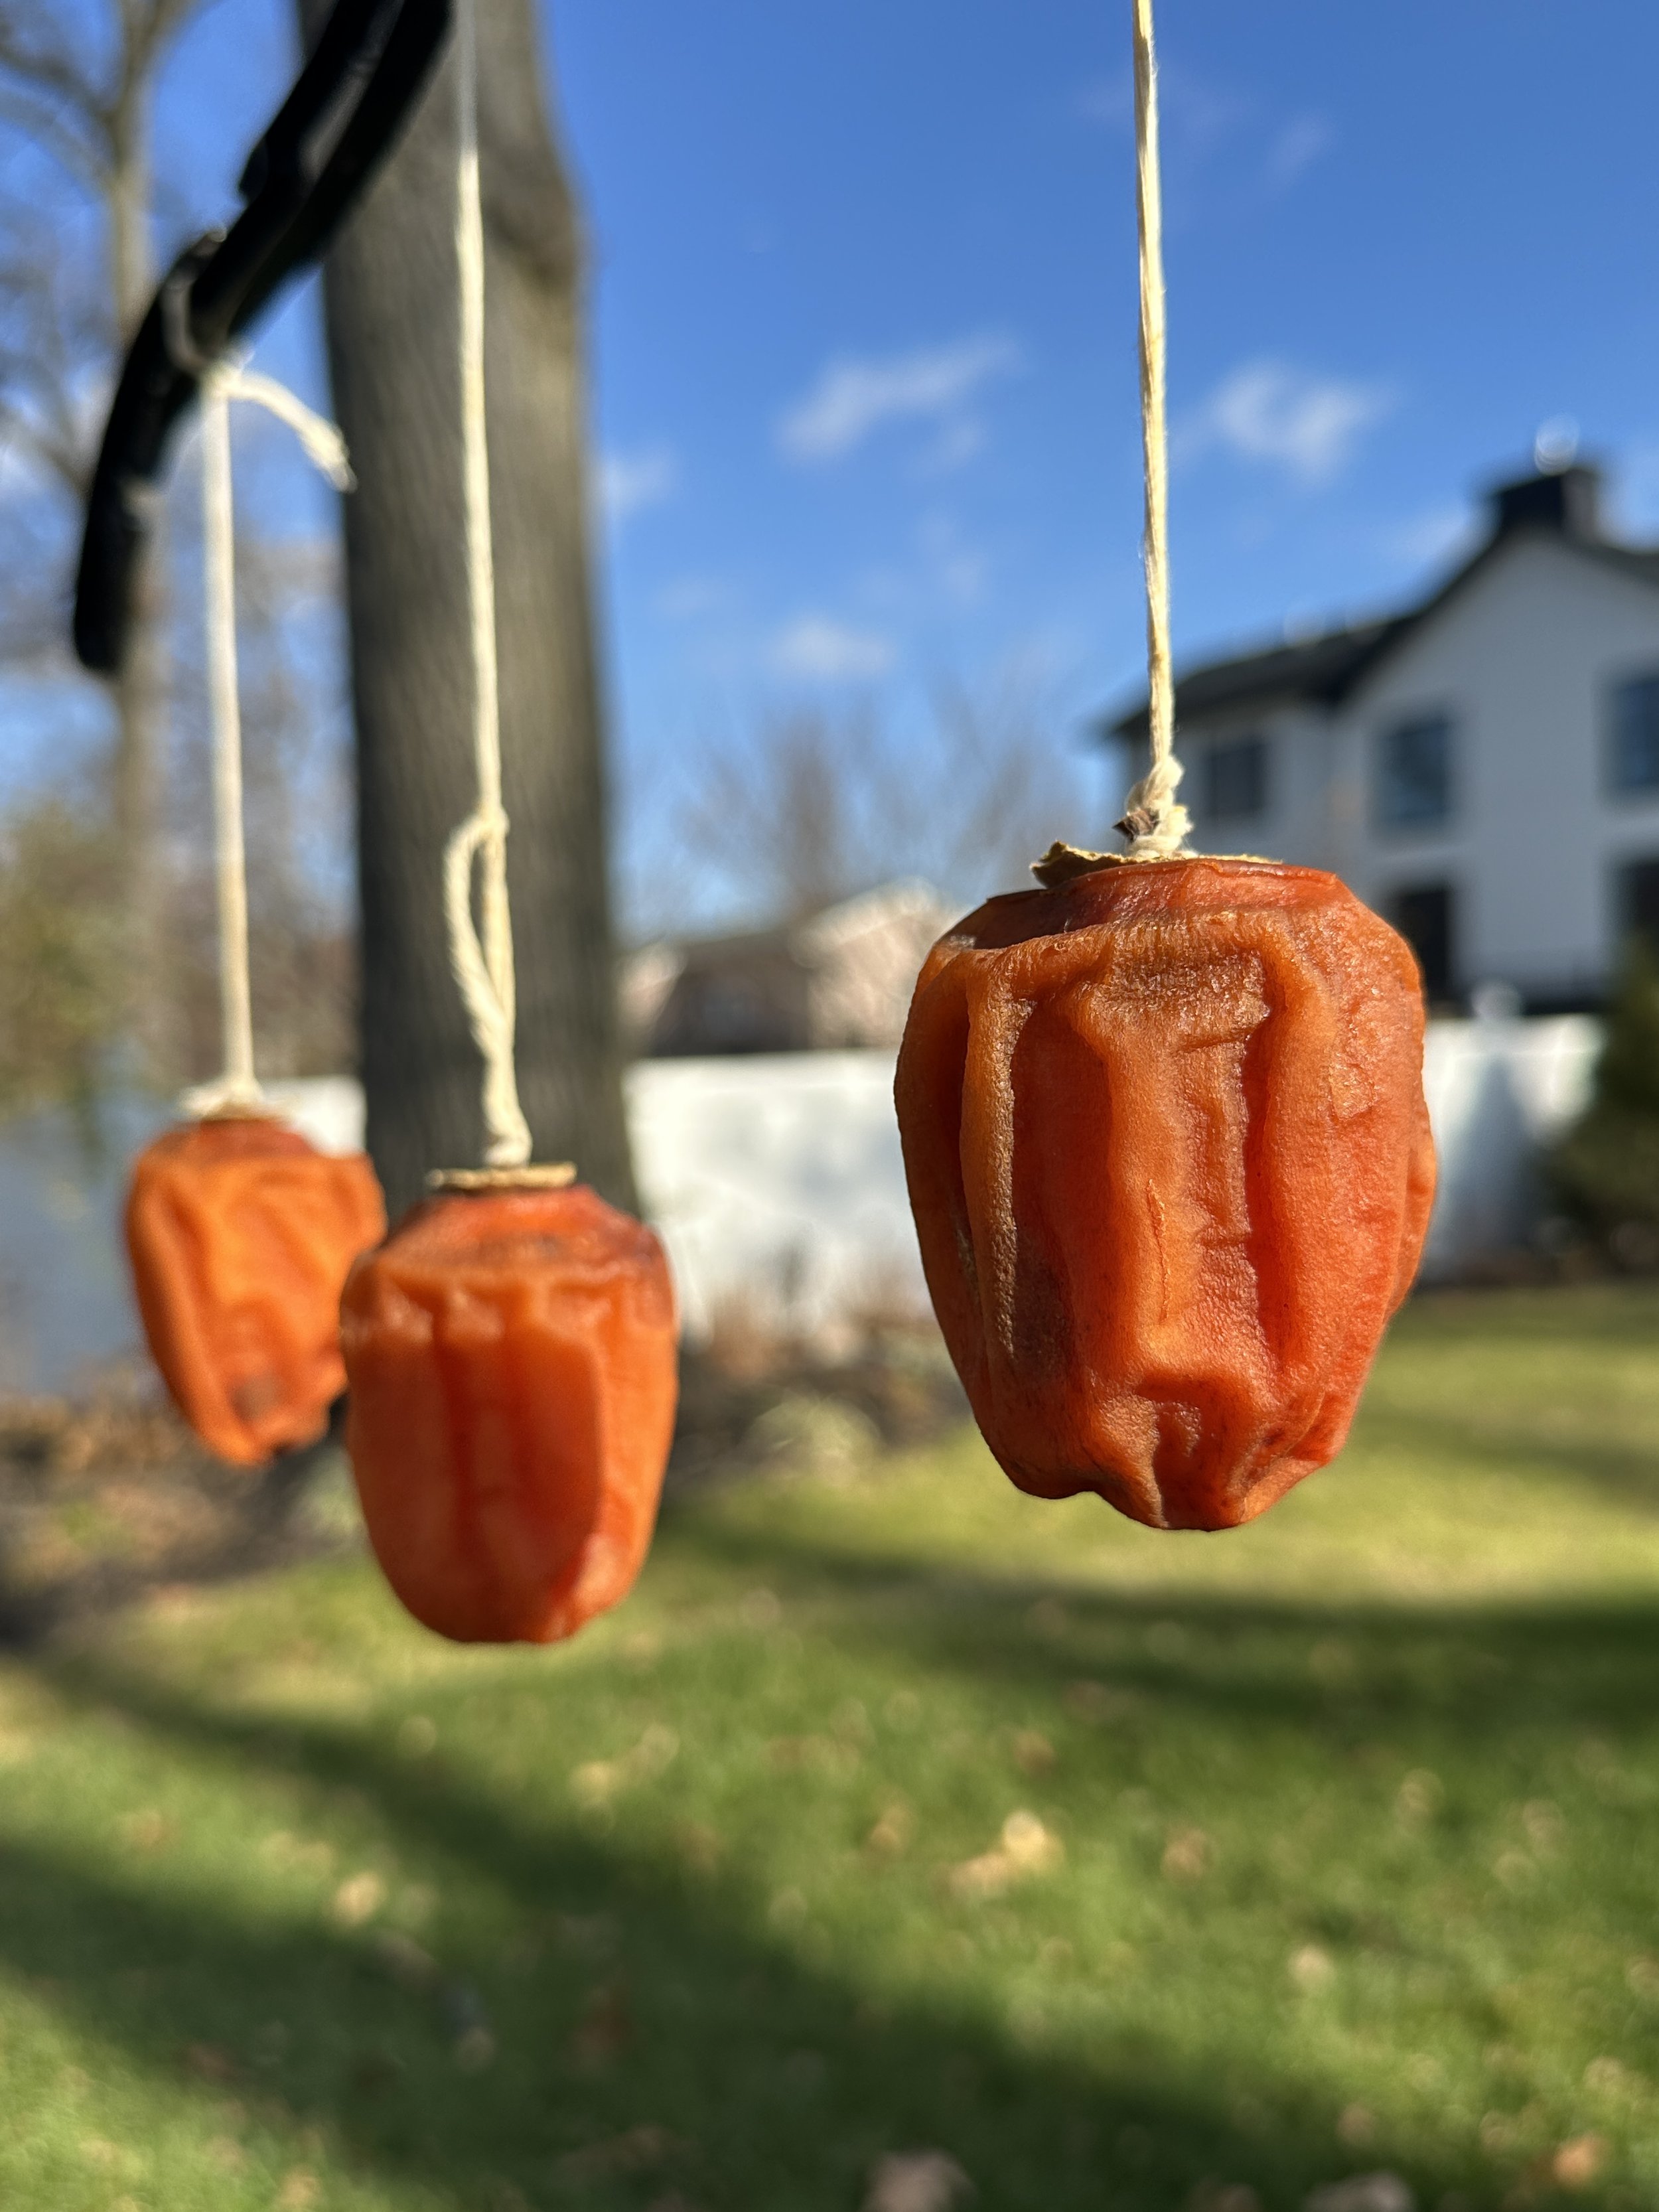
This is when the weeks started to blur. Although, the persimmons continued to lose water weight and gained more wrinkles, there were overall less significant changes from week to week. I continued to massage them often, but it was now every few days just depending on my schedule of life. I rotated my hangers around too so that the persimmons would get a similar amount of sunlight too. During these weeks, some people start to see signs of mold growth, luckily I didn’t. To get rid of the mold, you can either scrape them off with a clean knife, then dip a Q-tip in vodka and wipe the affected area to prevent new mold growth. At Week 4, I tasted a dried persimmon and realized that I liked the softness and jammy nature at this stage of the drying process best, also considering this particular environmental condition.
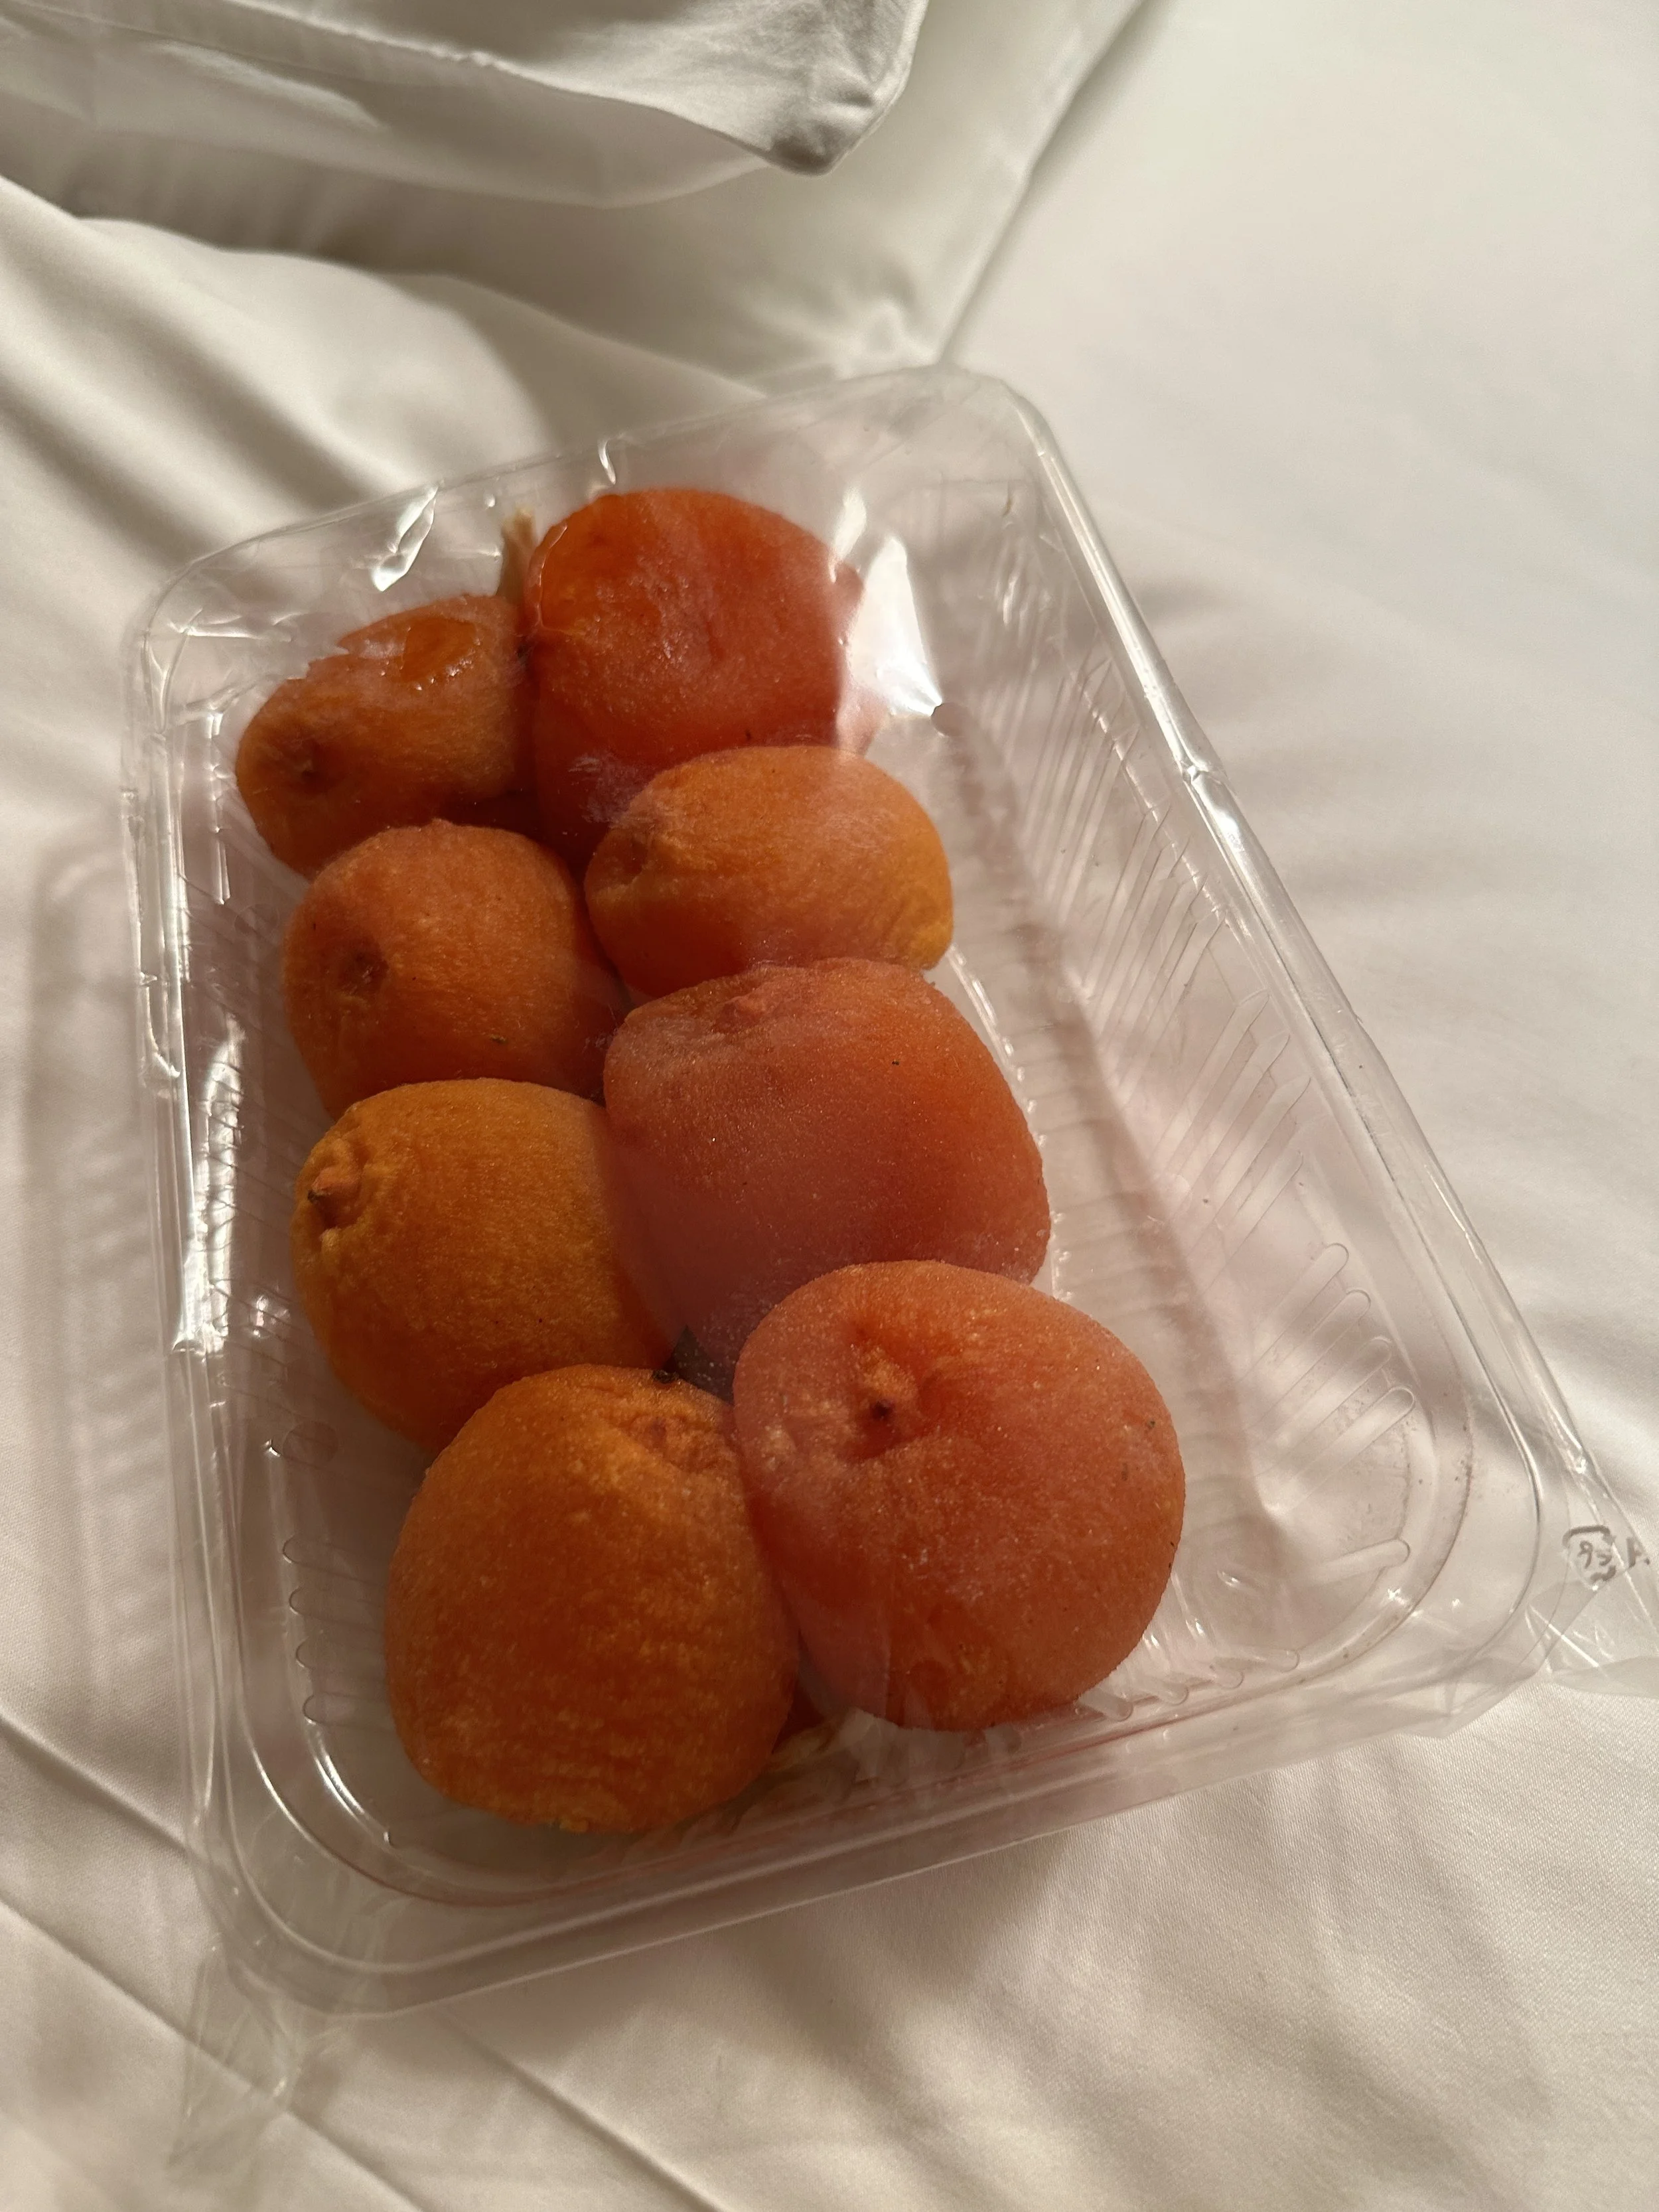
Week 6
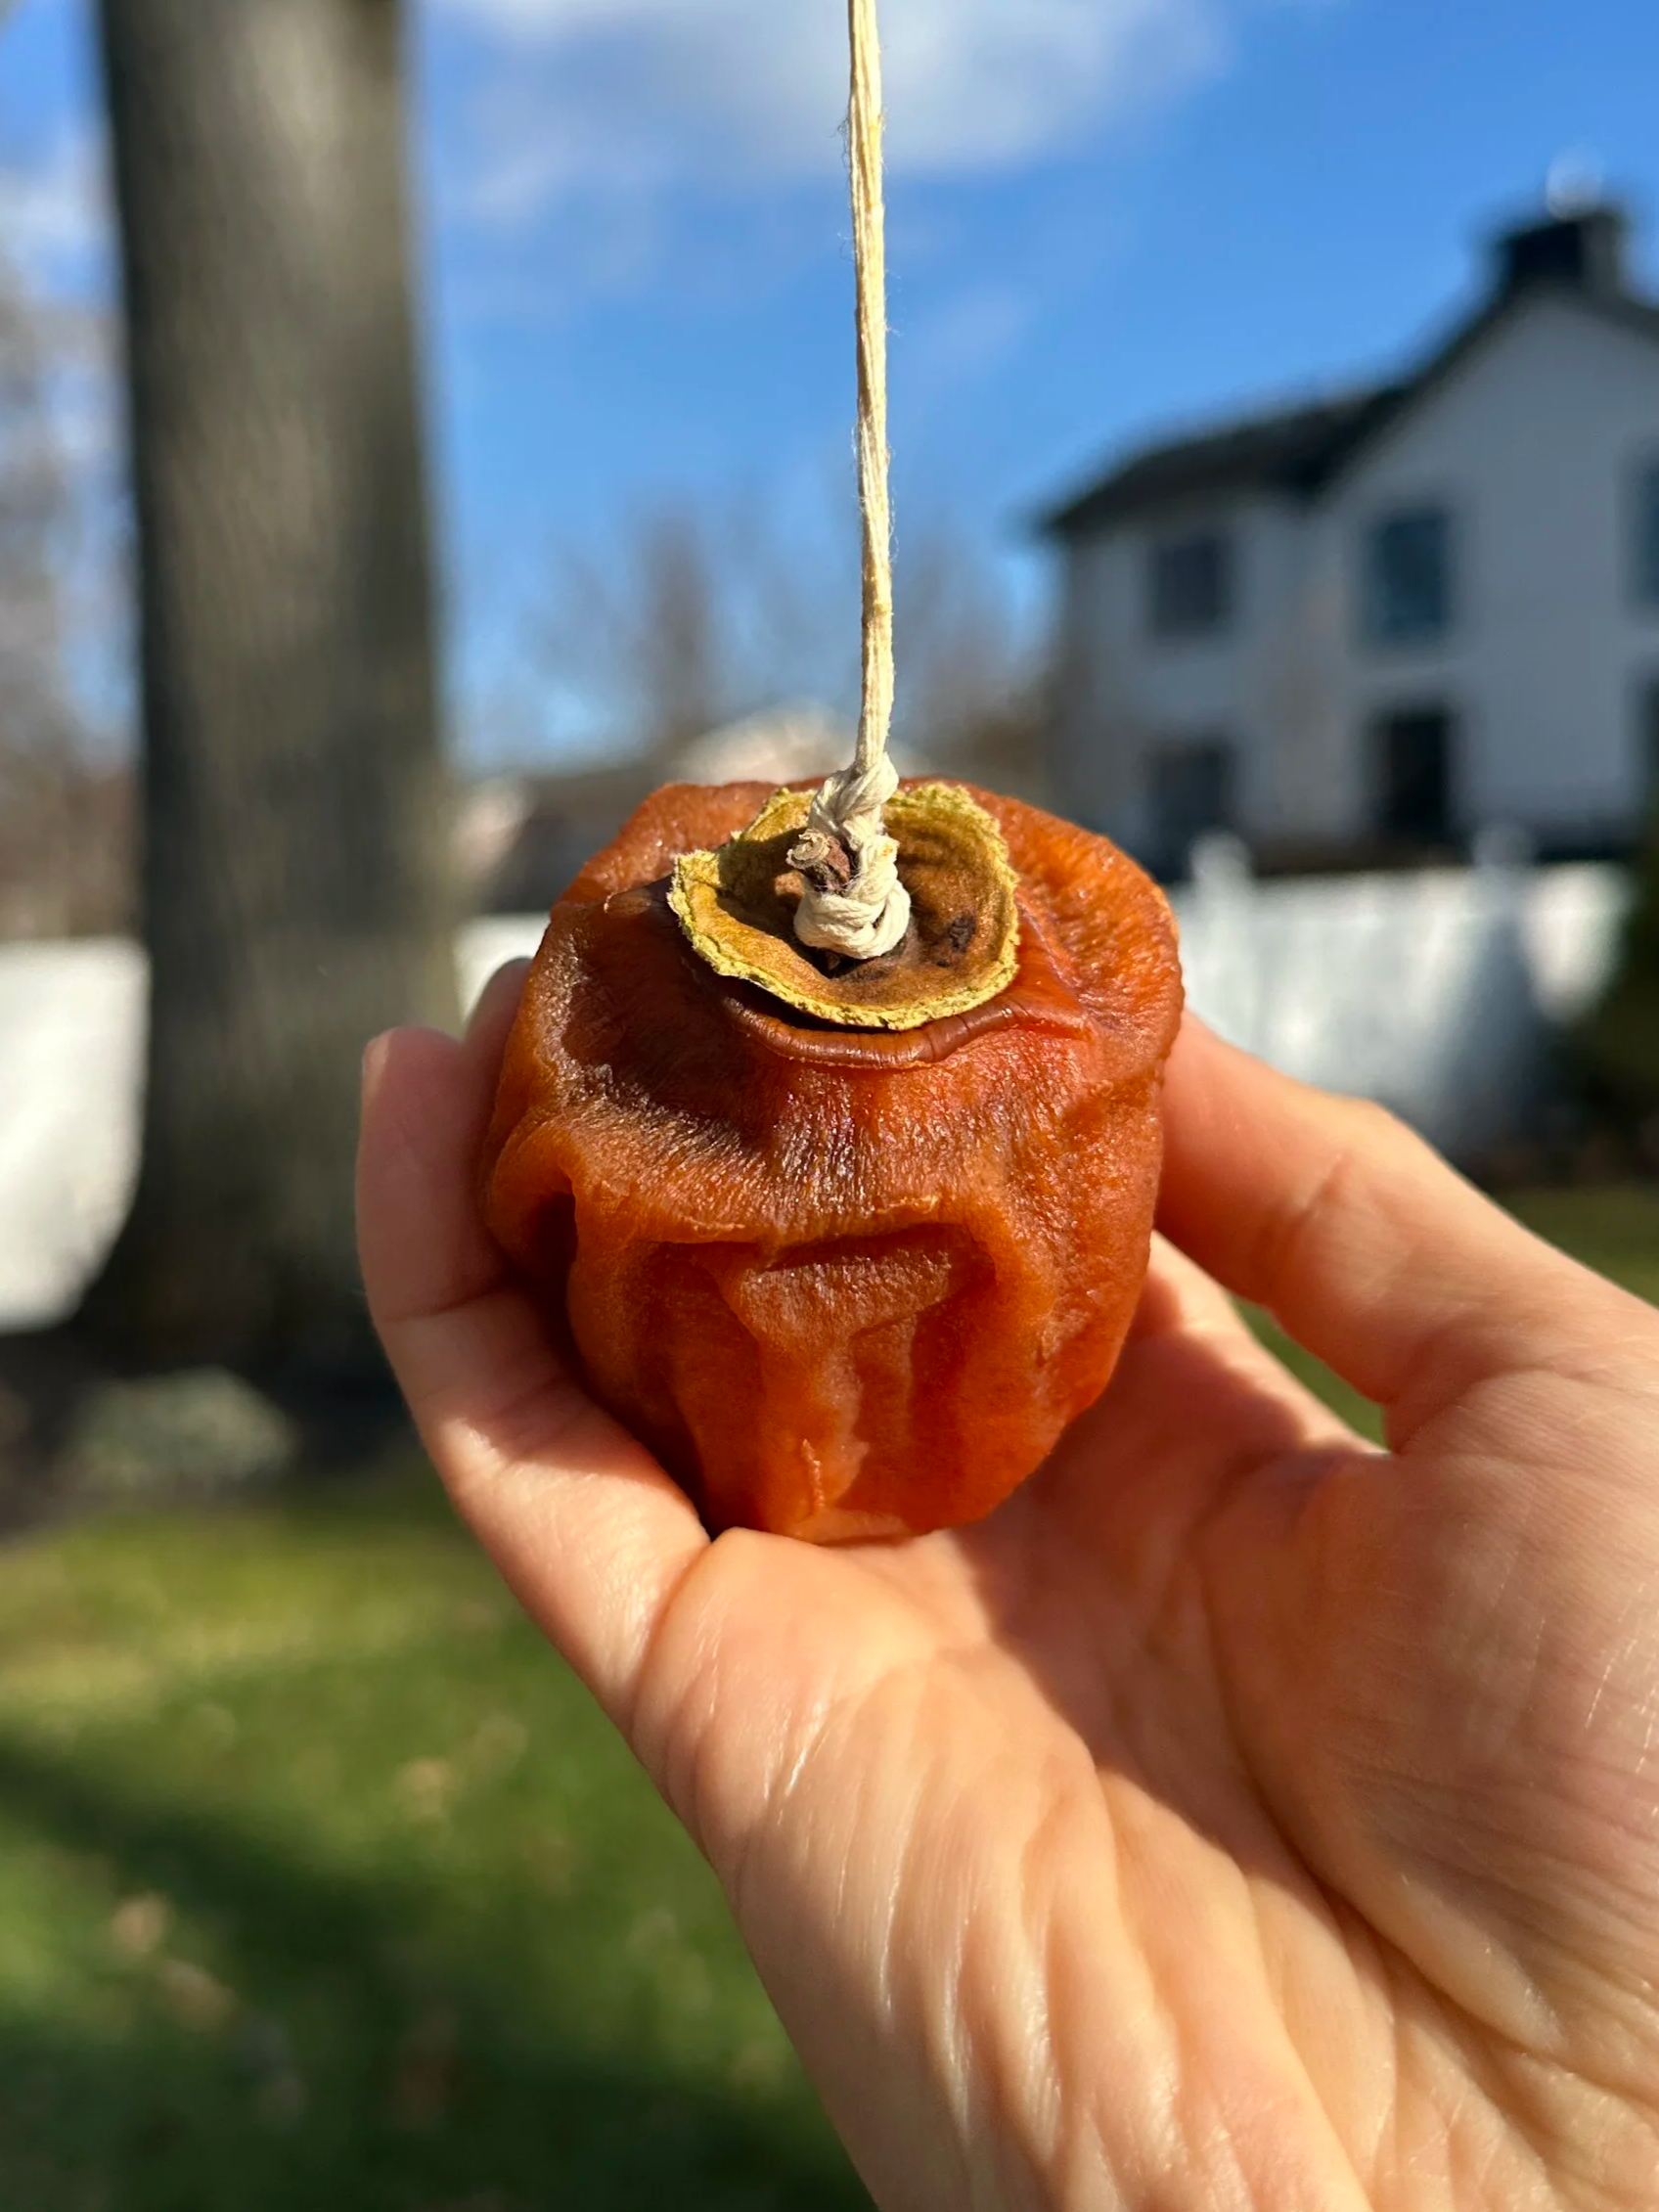
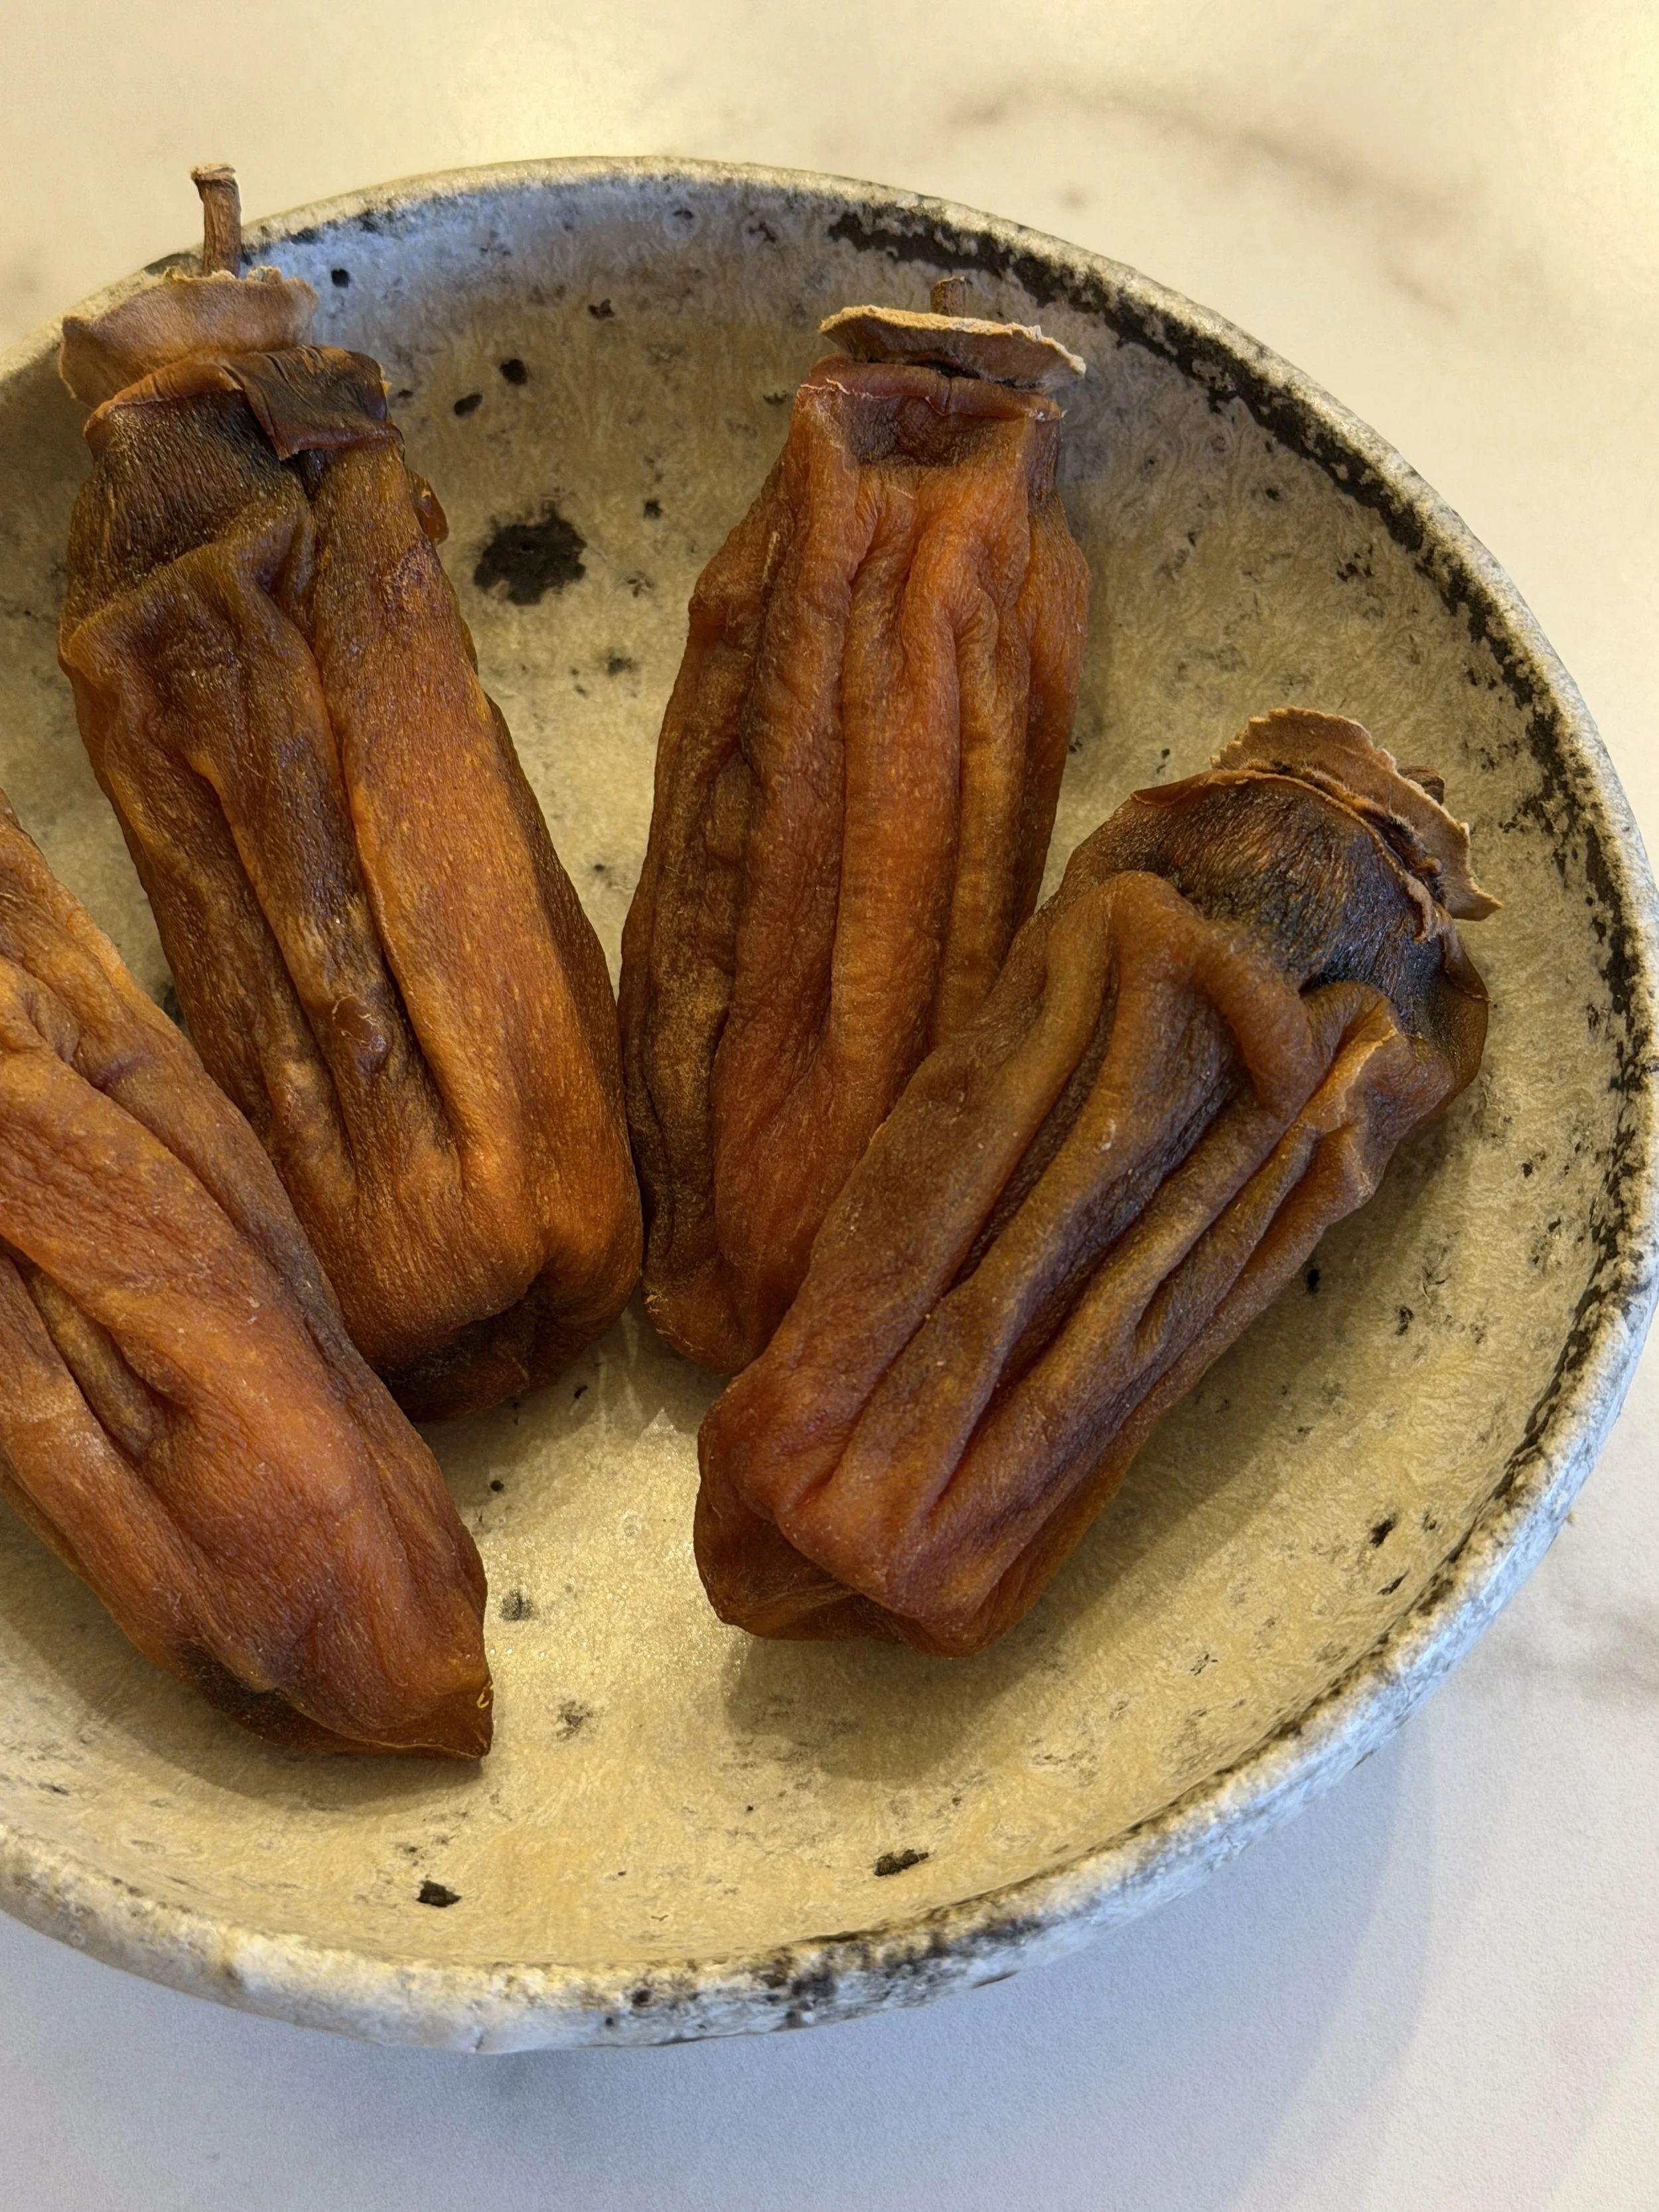
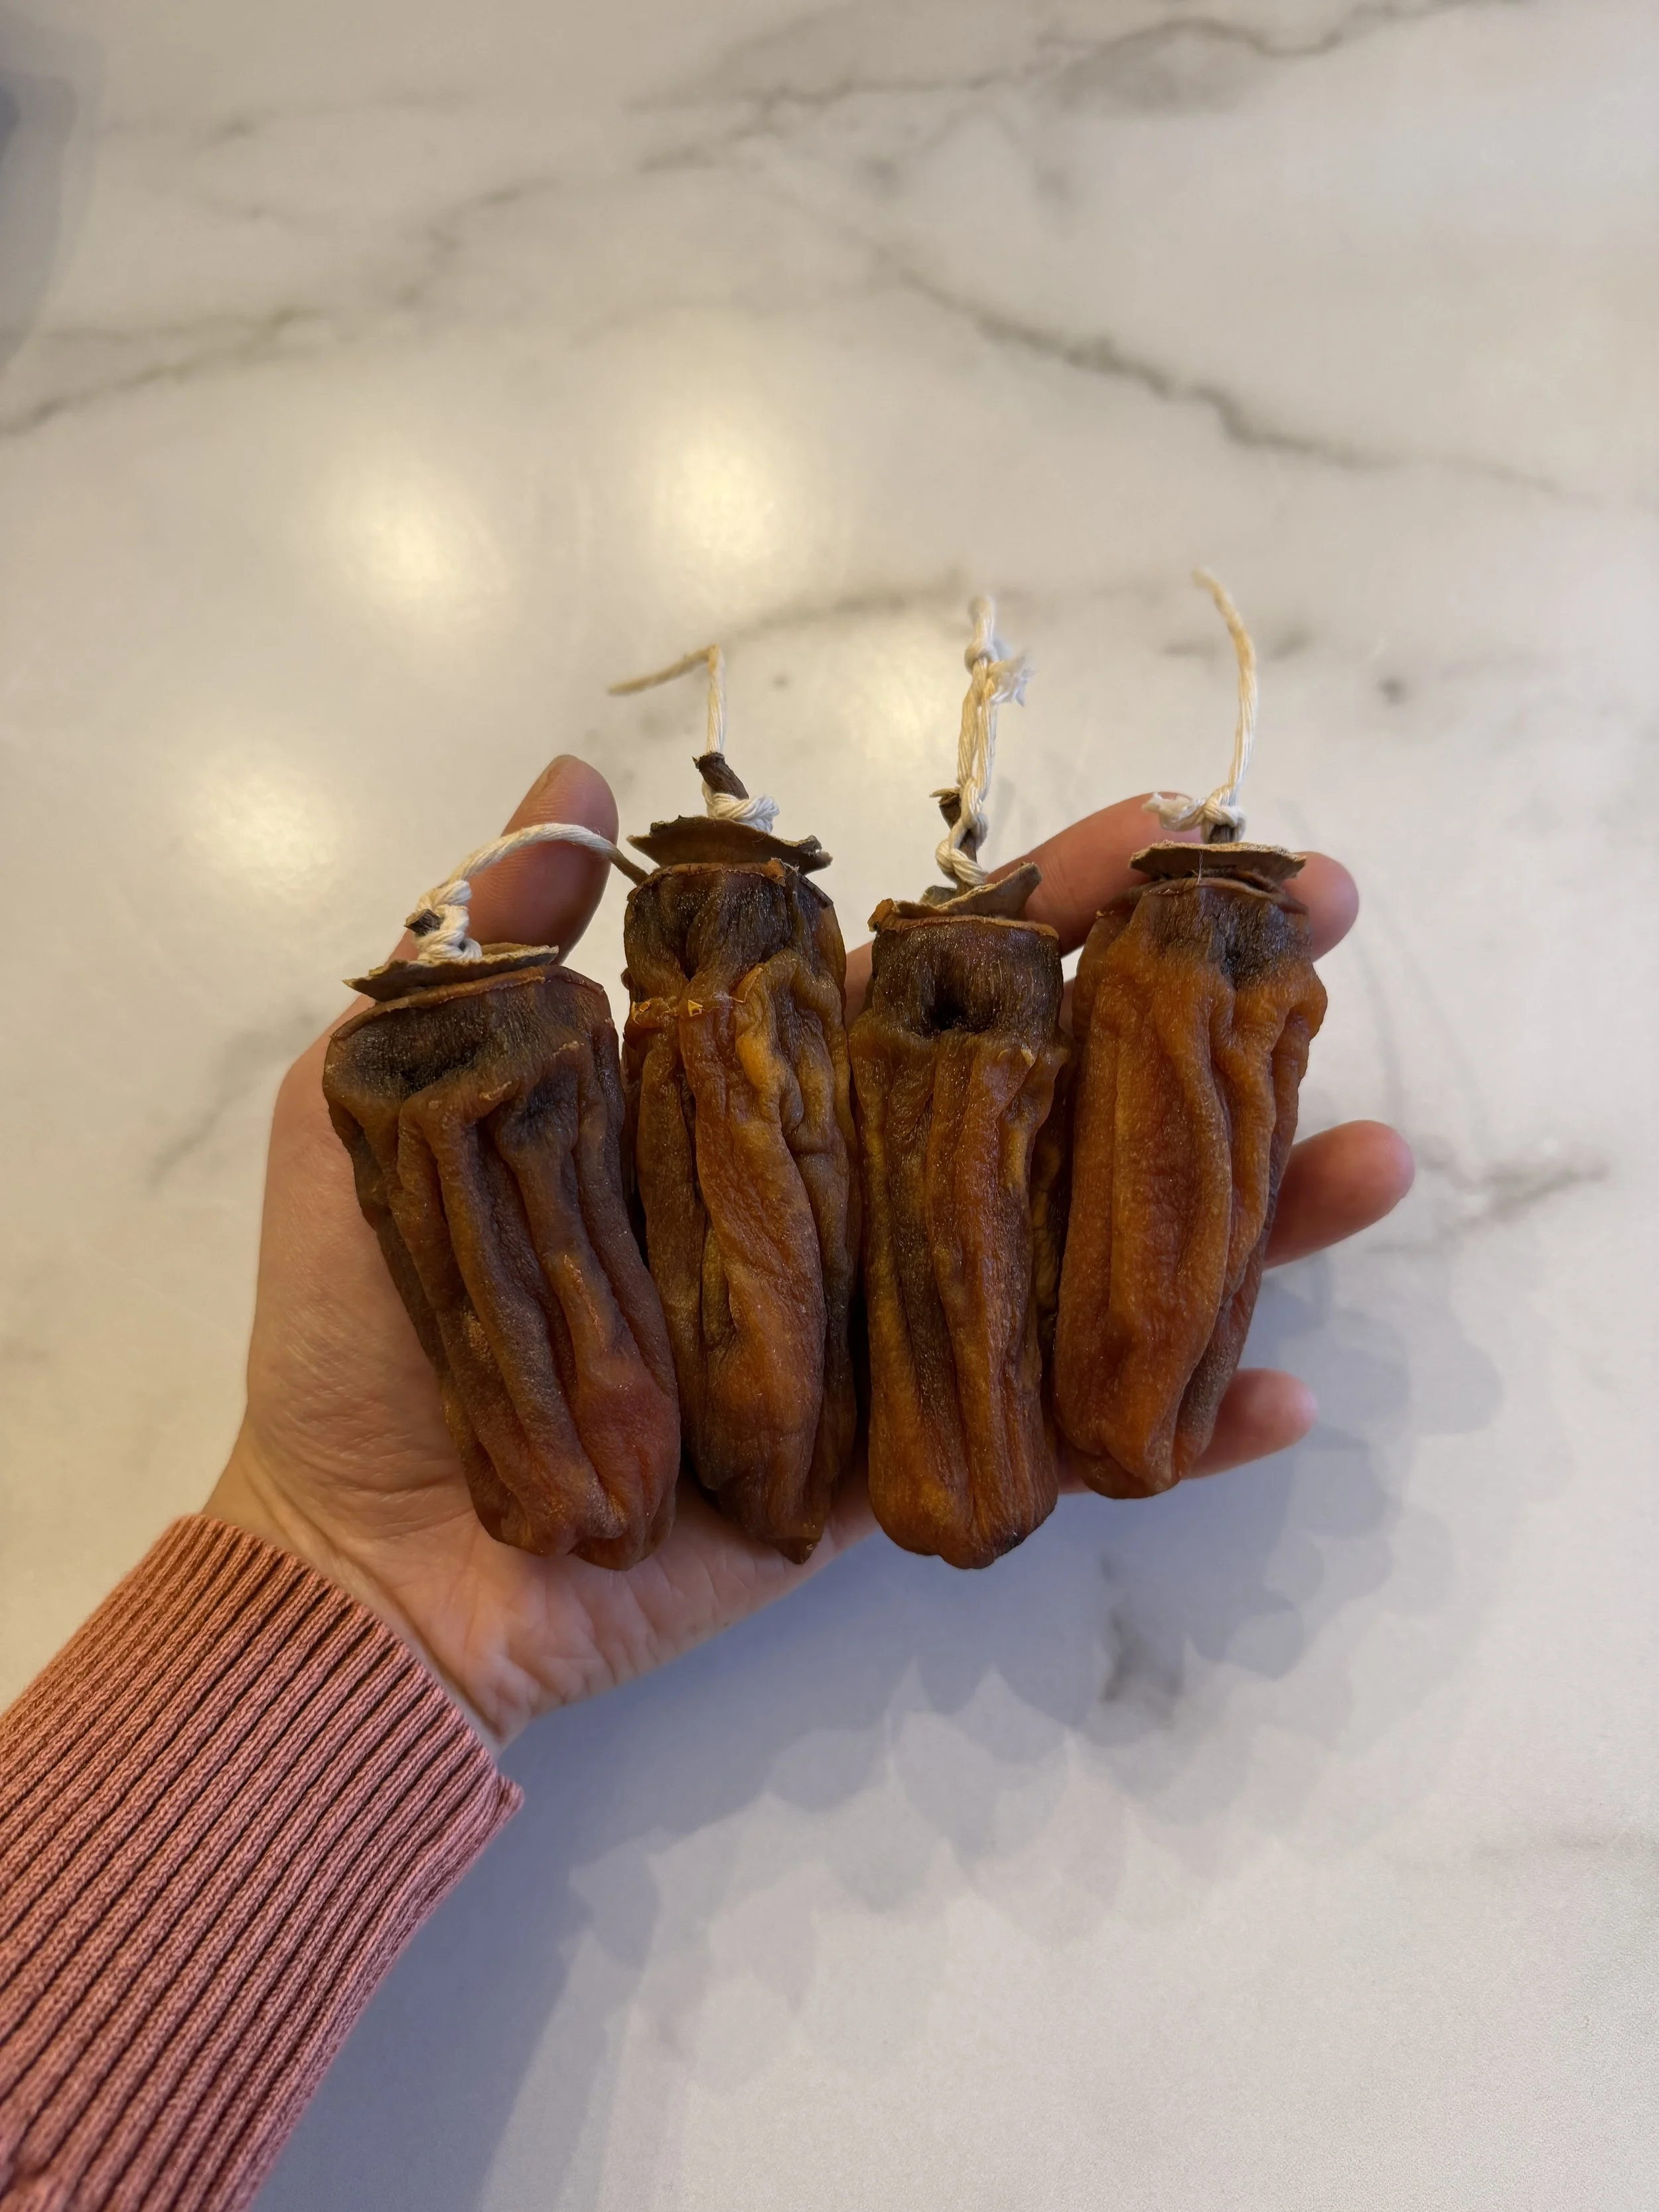
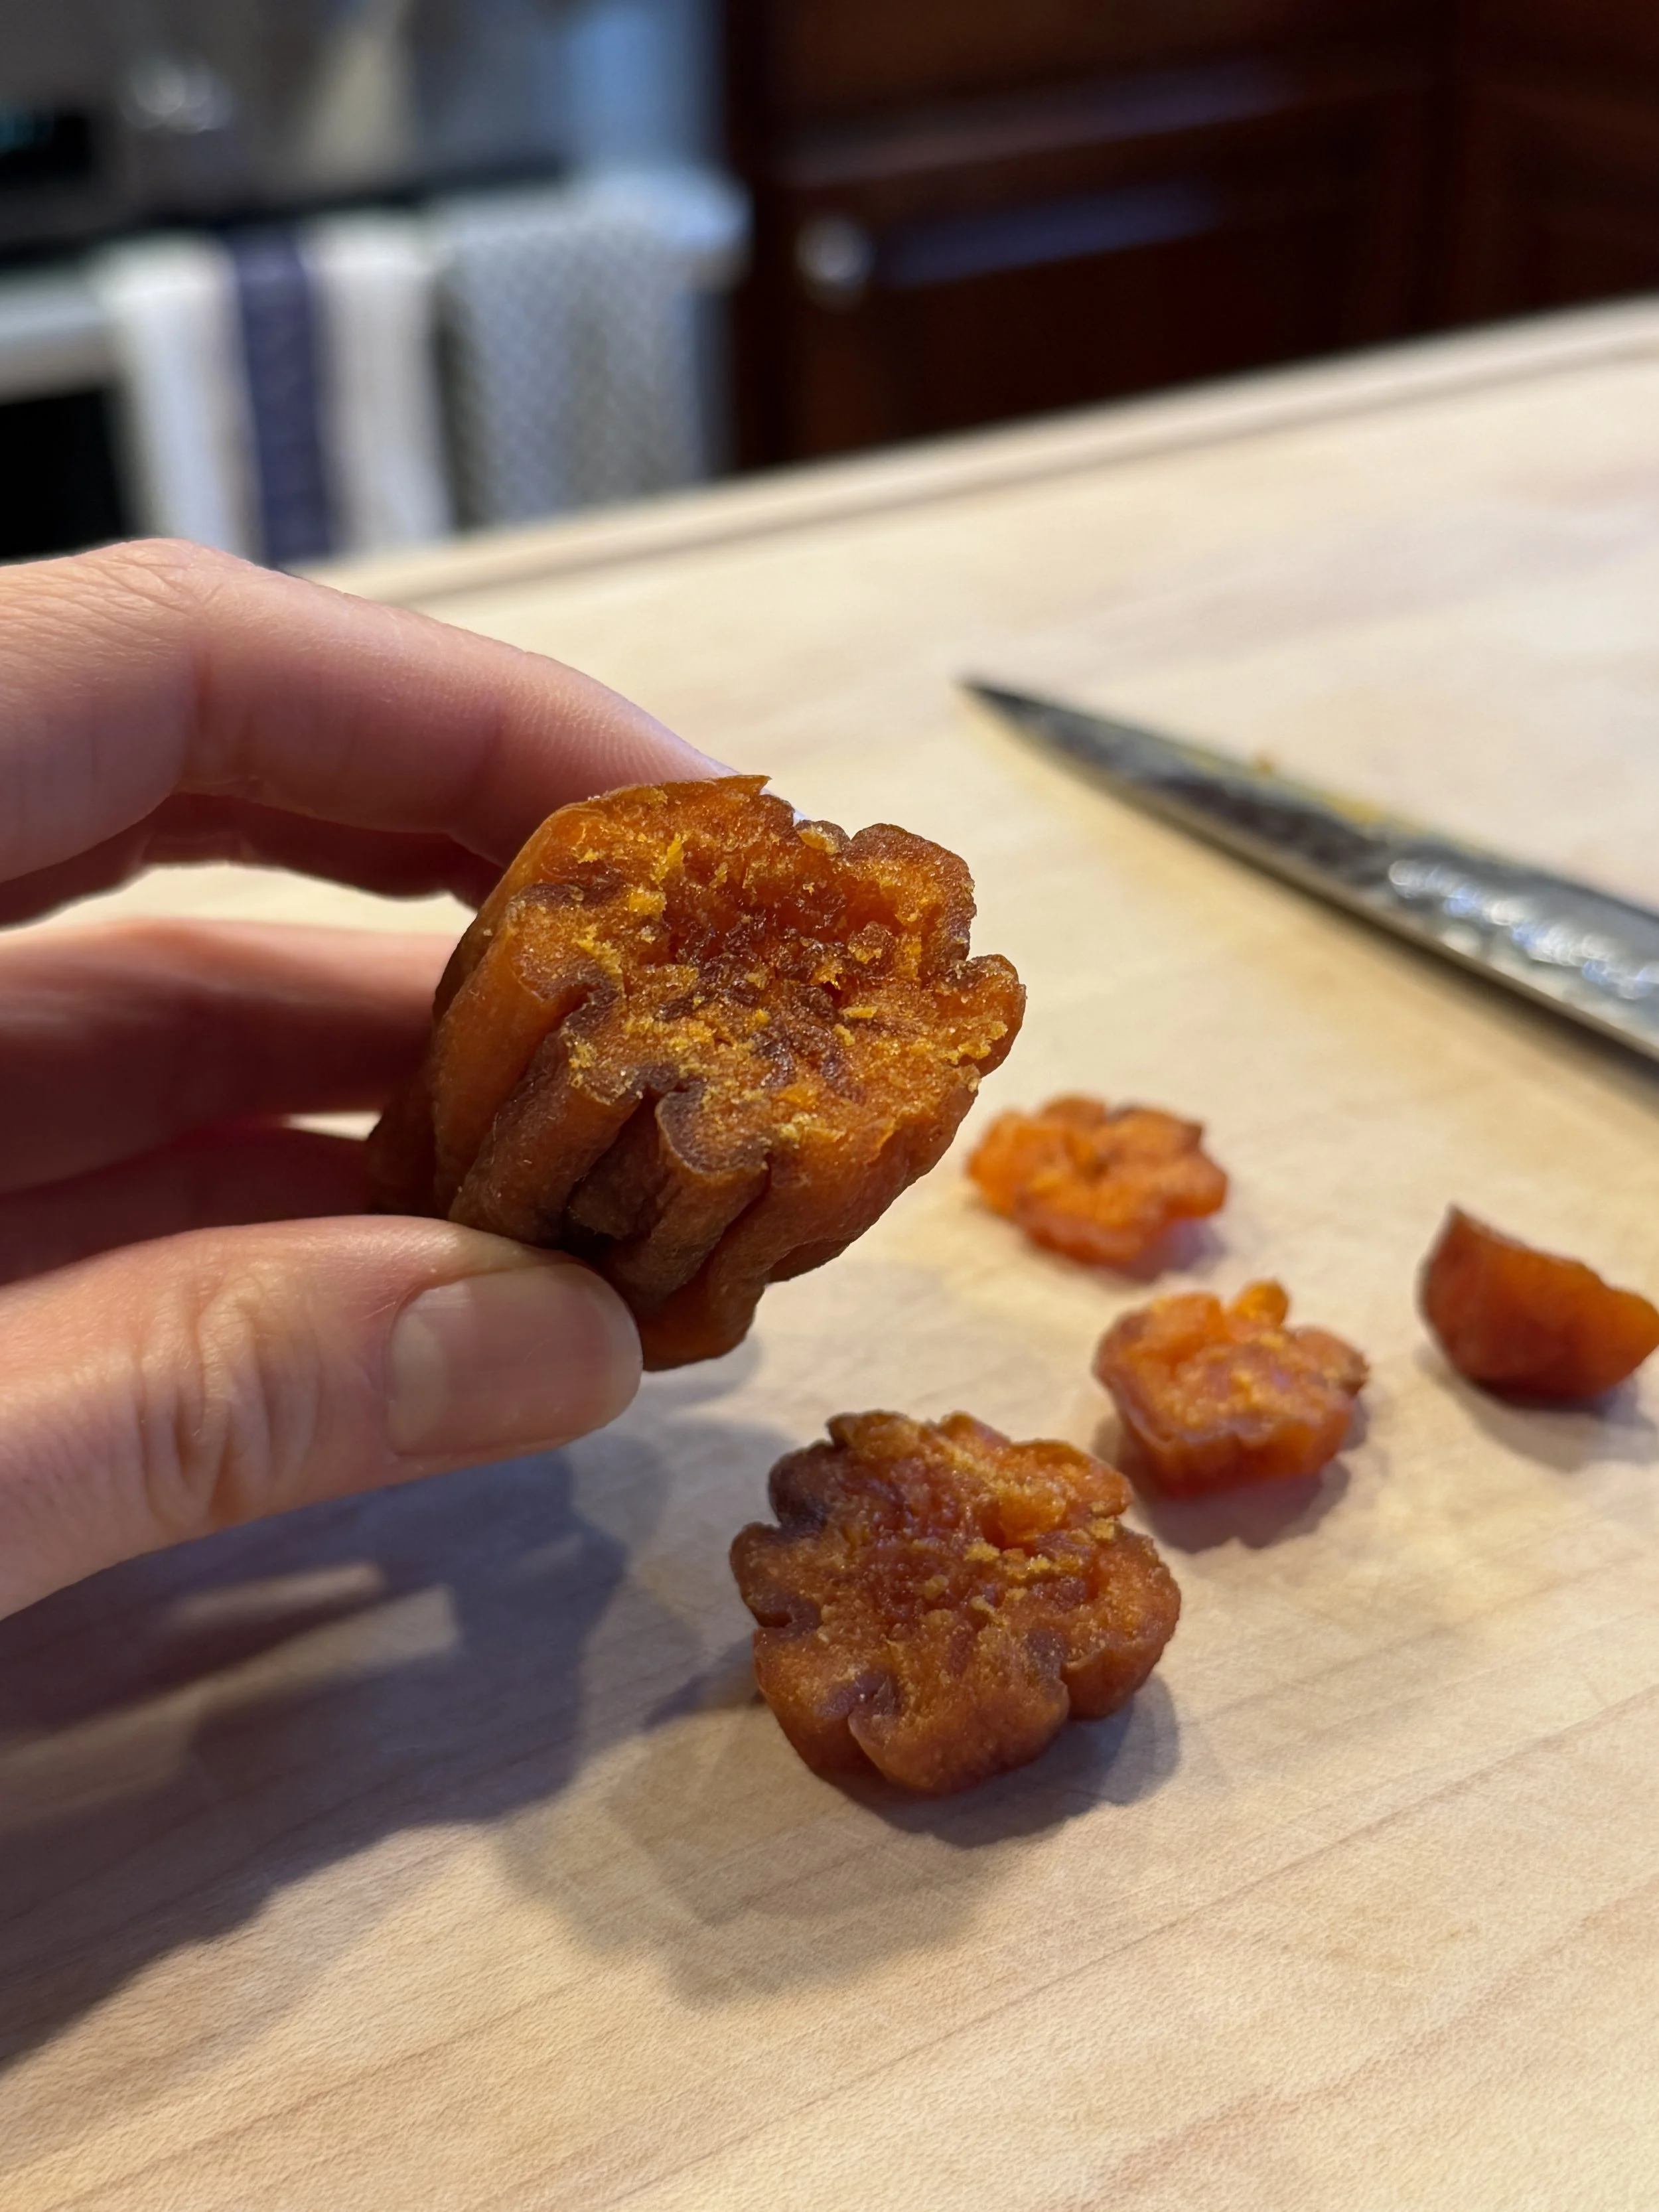
At week 6, I officially took the remaining persimmons down from their drying area. I waited the full 6 weeks to see how the hoshigaki would continue to dry. I felt like 4 weeks was my ideal sweet spot of texture in being a nice balance of soft and jammy yet has a chewy bite. The flavor was similar from 4 to 6 weeks, but compared to the fresh persimmons, the dried persimmons had a more rich, concentrated, caramel and honey-like flavor, almost brown spiced attributes too! At 6 weeks, the persimmons started to get too hard for my liking. I kept the persimmons drying for 6 weeks because I wasn’t seeing any white sugar bloom on the surface, which is supposed to be an indicator that they’re done and is more prized.
I read that the white bloom usually forms when there is a more humid and cold environment. My home was definitely in the low 70s and was on the dry side, so I’m thinking that the environment could be a main reason why the white sugar bloom may not have formed and that the persimmons were ready earlier than expected.
Takeaways
The more I learn about how traditional foods are made, I have a lot more respect for the love, care, and integrity that goes into the process. In a world where efficiency and cost are prioritized, it makes me think about how the craftsmanship, culture, and tradition can be lost or undervalued if we don’t continue to support or recognize its importance.
The principle and process of making hoshigaki is simple, but it takes time…Good things take time! In practice, it taught me about simplicity, patience and consistency.
Simplicity in that the only ingredient is persimmons and time to dry and preserve them. Patience because the process takes around a month to preserve them, no shortcuts in this traditional method! Consistency in that they must be massaged often (what a life!) to break down the inner pulp and encourage water loss.
Improvements for Next Year:
I prefer a softer, jammier persimmon, so I would stop the drying process at 4 weeks instead of waiting 6 weeks. I realized my conditions were probably too dry, so waiting until 6 weeks made them hard than I liked!
Make sure to transfer hoshigaki to air-tight containers when the doneness and preferred texture is achieved. This allows the hoshigaki to remain soft, encourage sugar bloom production, and allows you to preserve the persimmons longer if you’ve made a big batch.
I didn’t get a sugar bloom this time so I’d try massaging every day instead of every few days and/or try drying in a more humid or colder environment to encourage sugar bloom production.
I’d be curious to see how using fuyu persimmons might be similar or different. Or if this process would work on preserving other fruits!